
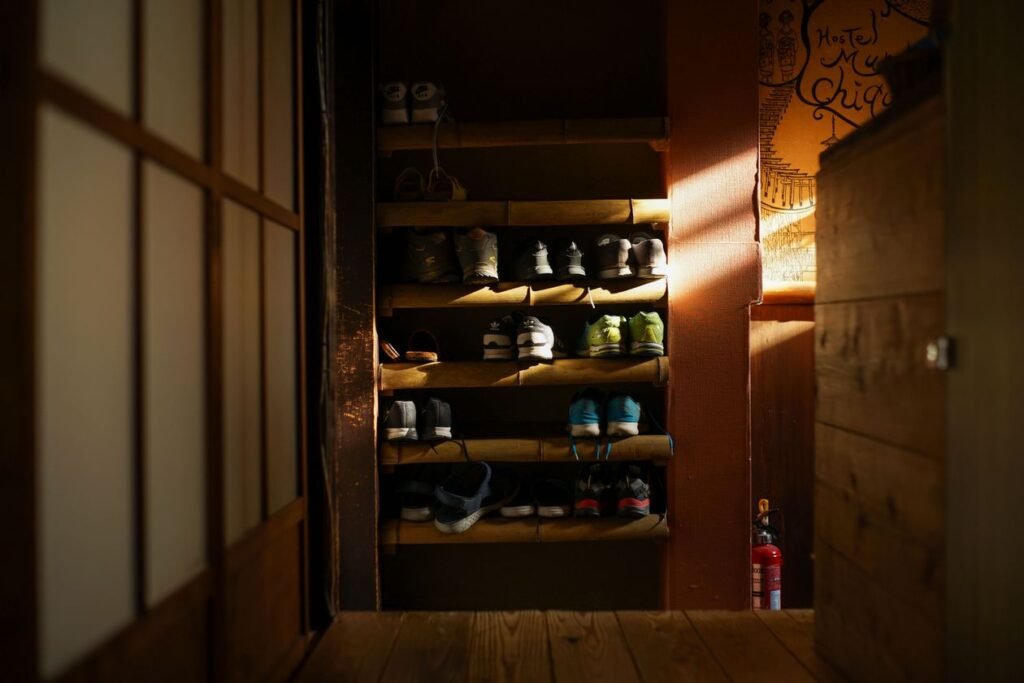
How to Build a Shoe Rack That Keeps Your Entryway Tidy
Learning how to build a shoe rack is one of the best first woodworking projects for a beginner. Shoes pile up by the door, they trip people, and they make a small home feel messy before you even step inside. A simple wooden rack fixes that in one weekend.
This guide shows you how to build a shoe rack from start to finish: measuring the space, cutting the wood, assembling the frame, and finishing it so it looks good in your entryway. You need basic tools, one afternoon of work, and a little drying time for the finish.
Before you start, count the shoes the rack needs to hold. A rack for two people is very different from a rack for a family of five. Measure your space, count the shoes, and then decide how many shelves you need. A rack that is too small is just a new place for shoes to pile up.
Table of Contents
What Size Should Your Shoe Rack Be?
A good shoe rack fits the space by the door and the shoes that live there. Here are the sizes that work for most homes:
- Height between shelves: 8 to 10 inches, so boots and high-top shoes fit without crushing them.
- Depth: 11 to 12 inches, which fits most adult shoes without them sticking out.
- Width: 24 to 36 inches for a first project. Wider racks need a middle support so the shelves do not sag.
- Number of shelves: 2 or 3 shelves hold 6 to 12 pairs of shoes, which is enough for most entryways.
Measure the wall or floor space where the rack will go, and leave at least 2 inches of space on each side so you can clean around it. Sketch the plan on paper: width, depth, shelf height, and the number of shelves.
What You Will Need to Build a Shoe Rack
- Wood boards for the shelves (pine is a good, affordable choice)
- Wood boards for the sides and back, if you want them
- Wood screws (1.5-inch and 2-inch)
- Wood glue
- Cordless drill and drill bits
- Tape measure and pencil
- Speed square or carpenter’s square
- Sandpaper (120-grit, then 220-grit)
- Wood stain or paint, plus a brush or cloth
- Safety glasses and a dust mask
Tip: If you are not sure which drill to use, read our guide on the 10 essential tools every new homeowner should own. The same drill you use for shelves will build this rack.
Step 1: Measure and Cut the Wood
Here is how to build a shoe rack starting with the cuts. Measure your space again, then mark the boards. For a simple two-shelf rack that is 30 inches wide, you need:
- 2 side pieces, 24 inches tall and 12 inches deep
- 2 shelf boards, 30 inches long and 12 inches deep
- 1 top board, 30 inches long and 12 inches deep, if you want a top shelf
Mark each cut with a pencil and a square so the line is straight. Cut slowly and steadily, and let the saw do the work. Label each piece as you cut it: “left side”, “right side”, “shelf 1”, “shelf 2”. Wear safety glasses while cutting, and keep your fingers well away from the blade.

Step 2: Sand the Boards Smooth
Sand every board before you assemble the rack. It is much easier to sand flat boards than to sand inside corners after assembly.
Start with 120-grit sandpaper, following the grain of the wood. Then finish with 220-grit for a smooth surface. Pay attention to the edges, which are the parts you will touch every day.
Wipe away the dust with a damp cloth and let the wood dry. If you skip this step, the dust will mix with the stain and make the finish feel rough.
Check each board for splinters. Run your hand lightly along each edge. If you feel a rough spot, sand it again. A shoe rack should feel smooth, not snag socks and shoelaces.
Step 3: Assemble the Frame
This is the step where learning how to build a shoe rack really comes together. Lay the two side pieces flat on the floor, parallel to each other, with the inside faces up.
Place the first shelf board between the sides at the height you marked. Apply a thin line of wood glue along the joint, then drill pilot holes through the side piece and into the shelf. Pilot holes stop the wood from splitting. Drive screws through the pilot holes to fix the shelf in place, using two screws on each side. Check with the square that the shelf is at a right angle to the side piece before you tighten the screws fully.

Step 4: Add a Back Support (Optional but Useful)
A back support stops the rack from wobbling and keeps shoes from falling out the back. Add a thin back panel cut to fit inside the frame, fixed with small screws, or a single horizontal board across the back at the top and bottom. It also makes the rack look more finished from the front.
Step 5: Finish the Wood
Once the frame is assembled, sand any joints that feel rough, then wipe away the dust. Apply wood stain or paint in thin, even coats, following the product instructions. Two thin coats usually look better than one thick coat, and they dry faster. Let each coat dry fully before adding the next. Leave the rack to dry overnight before you load it with shoes, as a finish that feels dry may still be soft underneath.
Step 6: Place the Rack and Load It
The last step in how to build a shoe rack is placing it and loading it. Move the rack into place by the door. Check it sits flat on the floor and does not wobble. Load the shoes with the heaviest pairs on the bottom shelf and lighter pairs on top, and leave a little space on each shelf so the rack does not look crowded. Add a small tray or mat under the rack if shoes come in wet or muddy.
How to Build a Shoe Rack: Final Checklist
- Count the shoes and measure the space first.
- Keep shelves 8 to 10 inches apart and 11 to 12 inches deep.
- Sand every board before assembly.
- Drill pilot holes, use glue and screws, and check the frame is square.
- Apply thin coats of stain or paint, and let it dry overnight.
- Load heavy shoes on the bottom and leave space on each shelf.
A shoe rack you build yourself costs far less than a shop-bought one, and it fits your space exactly. Now that you know how to build a shoe rack, it is a weekend project that you will use every single day.
Frequently Asked Questions
How long does it take to build a shoe rack?
Usually 2 to 3 hours of active work to learn how to build a shoe rack, plus drying time for the finish. Plan it as a weekend project and let the stain or paint dry overnight.
What wood should I use for a shoe rack?
Pine is a good, affordable choice for beginners. It is easy to cut, sand, and paint, and it is strong enough for shoes. Plywood with a finished edge also works well.
How many pairs of shoes will a simple rack hold?
A two-shelf rack that is 30 inches wide holds about 6 to 8 pairs. A three-shelf rack holds about 9 to 12 pairs, depending on the size of the shoes.
Do I need a back panel on a shoe rack?
No, it is optional. A back panel stops the rack wobbling and stops shoes falling out the back, so it is worth adding for a first project.
Can I build a shoe rack as a beginner?
Yes. Learning how to build a shoe rack is a good first woodworking project if you measure carefully, drill pilot holes, and check the frame is square at every step. Keep the rack short and simple for your first try.
Further reading: for another weekend build, see our guide on how to build floating shelves, and for entryway tidiness ideas, see Small Apartment Organizing Ideas That Actually Work. For a different take on a shoe rack build, Family Handyman shows how to build a rotating shoe rack.