
How to Patch a Hole in a Wall Without a Professional
Learning how to patch a hole in a wall is one of the most useful beginner DIY skills. A doorknob dent, a moved picture hook, or an accidental bump can leave a hole that looks serious — but most small and medium drywall holes can be fixed in one afternoon with a patch kit and basic tools.
This guide shows you how to patch a hole in a wall, from a nail hole to a hole about the size of your fist, and finish it so it blends in after painting.
Before you start, take a photo of the hole and measure it. The size of the hole decides which repair method to use, and buying the wrong size patch is the most common beginner mistake. Getting this right is the first step in how to patch a hole in a wall so the repair lasts.
Table of Contents
What You Will Need to Patch a Hole in a Wall
- Self-adhesive mesh patch or a wall patch kit, sized to your hole
- Ready-mixed joint compound (also called drywall mud)
- Putty knife, 6-inch and, if you have one, 10-inch
- Sanding sponge or fine sandpaper (120-grit, then 220-grit)
- Utility knife
- Primer and matching wall paint, plus a small roller or brush
- Drop cloth, painter’s tape, and a damp cloth
Tip: For a hole smaller than a coin, you may not need a patch at all — joint compound alone is usually enough. For a hole larger than about 6 inches across, stop and read the “When to call a professional” section below.
Step 1: Measure the Hole and Choose the Repair
Measure the hole across its widest point, and check whether the drywall around it is cracked or loose.
- Under 1 inch (nail holes, small dents): fill with joint compound only.
- 1 to 4 inches: use a self-adhesive mesh patch, then joint compound over it.
- 4 to 6 inches: use a larger self-adhesive patch or a metal patch kit, then joint compound.
- Over 6 inches, or if a stud or pipe is visible: do not patch it this way — see the professional section below.
Knowing the size first saves a second trip to the store. It is also the key decision when you learn how to patch a hole in a wall.
Step 2: Prepare the Area
Lay a drop cloth under the work area and tape off any trim you want to protect. Use the utility knife to trim away any loose paper or crumbling drywall around the edge of the hole, so the patch sits flat.
Wipe the area with a damp cloth and let it dry. Dust stops joint compound and patches from sticking properly. A clean surface matters when you learn how to patch a hole in a wall, because dust is the main reason patches fail to stick.

Step 3: Apply the Patch
Peel the backing off the self-adhesive mesh patch and press it firmly over the hole, centred, with no wrinkles or lifted edges. Run your hand over it once to check it is fully stuck to the wall.
If you are filling a nail hole with no patch, skip this step and go straight to Step 4.
Step 4: Apply the First Coat of Joint Compound
Load a small amount of joint compound onto the 6-inch putty knife. Spread a thin, even coat over the patch, pressing the compound through the mesh and feathering the edges out a few inches beyond the patch.
The first coat does not need to be perfect. Its job is to cover the mesh and fill the hole. Scrape off the excess — a thick coat takes longer to dry and is harder to sand smooth. The first coat in how to patch a hole in a wall is about coverage, not a perfect finish.
Let it dry completely, following the time on the compound tub. Drying usually takes a few hours, and longer in a cold or damp room.

Step 5: Apply a Second, Wider Coat
Once the first coat is fully dry, apply a second coat with the wider putty knife, feathering it out a little further than the first coat. This wider, thinner coat is what makes the repair disappear.
Let the second coat dry completely as well. Do not sand a coat that is still damp — it will tear and leave a rough edge. Do not rush this step: a damp coat sanded too soon is the most common mistake when learning how to patch a hole in a wall.
Step 6: Sand Smooth
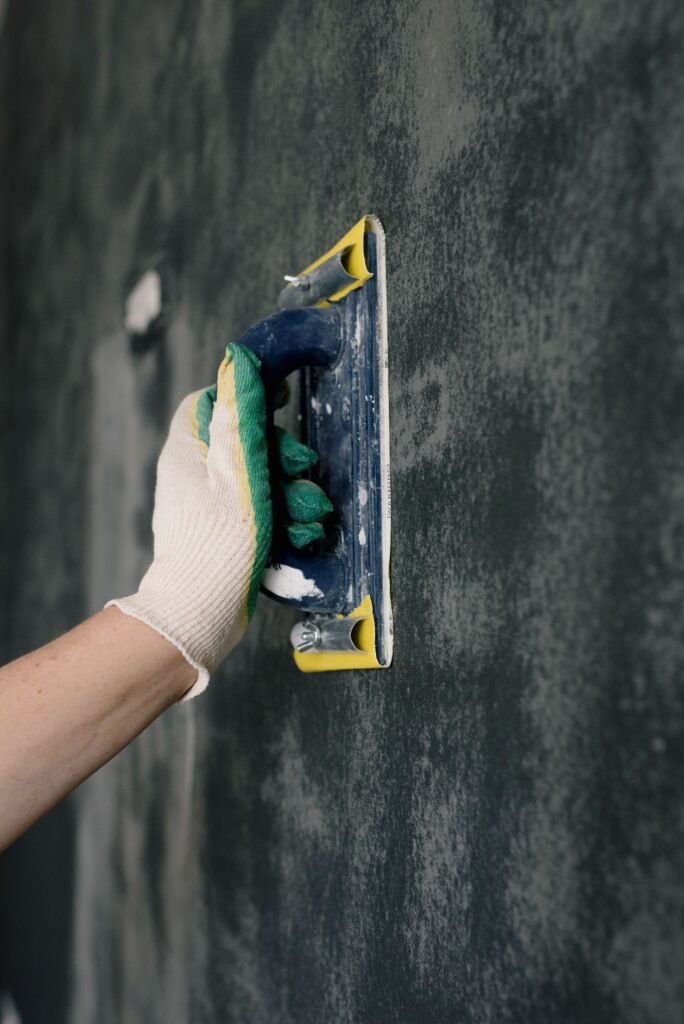
Sand gently with the 120-grit sponge or paper, using light, circular strokes, then finish with the 220-grit for a smooth surface. Wipe away the dust with a damp cloth.
Run your hand over the patch with your eyes closed. If you can still feel an edge or a bump, it will show through the paint — add one more thin coat, let it dry, and sand again.
Wear a dust mask while sanding, and keep the room ventilated.
Step 7: Prime and Paint — the Last Step in How to Patch a Hole in a Wall
Prime the patched area first. Joint compound absorbs paint differently from the rest of the wall, so painting without primer usually leaves a visible dull patch, even with matching paint.
Once the primer is dry, paint the patch with your matching wall paint, feathering the edges into the surrounding wall. A second paint coat, after the first has dried, usually gives the best blend.
Troubleshooting: The Patch Still Shows?
- You can see the mesh through the paint? The compound coats were too thin. Add another thin coat, sand, prime, and paint again.
- The edge of the patch is visible? The compound was not feathered wide enough. Sand the edge down and add a wider, thinner coat.
- The paint looks a different shade? The patch was probably not primed, or the paint is from a different batch. Prime it and repaint, and test the paint on a hidden spot first next time.
- The compound cracked as it dried? The coat was too thick, or it dried too fast. Sand it back, and reapply in thinner coats.
When to Call a Professional Instead
Call a professional if the hole is larger than about 6 inches across, the drywall is soft or sagging from water damage, you can see wiring or a pipe inside the wall, or the wall is plaster or lath rather than drywall. Stop and call a professional if you are unsure what is behind the wall — cutting into it blindly can damage wiring or plumbing.
How to Patch a Hole in a Wall: Final Checklist
- Measure the hole first — size decides the repair.
- Trim loose edges and clean the dust off before patching.
- Use thin coats of joint compound, and let each one dry fully.
- Sand smooth, prime, then paint — never paint bare compound.
- Stop and call a professional for large holes, water damage, or anything behind the wall you cannot identify.
Patching it yourself costs little more than a patch kit and a tub of joint compound, and in most homes it takes one afternoon plus drying time. Once you know how to patch a hole in a wall, the same kit and compound will handle most small holes in your home.
More from FixTidy: How to Fix a Leaky Kitchen Faucet — another beginner repair you can finish in an afternoon.
Frequently Asked Questions
How long does it take to patch a hole in a wall?
Usually 30–60 minutes of active work for a small or medium hole, plus drying time between coats — often a few hours per coat. Plan it as a weekend-afternoon job, not a 10-minute fix. Once you know how to patch a hole in a wall, the next one goes faster.
Do I need to prime before painting a patch?
Yes. Joint compound absorbs paint differently from the surrounding wall, so without primer the patch usually shows as a dull spot, even with matching paint. Primer is a non-negotiable step in how to patch a hole in a wall invisibly.
Can I patch a hole in a wall without a patch kit?
For a hole smaller than a coin, joint compound alone is usually enough. For anything larger, a self-adhesive mesh patch stops the compound from sinking into the hole and cracking, which is why most guides on how to patch a hole in a wall recommend one.
How much does it cost to patch a hole in a wall yourself?
Usually only the cost of a patch kit and joint compound, plus primer and paint if you do not already have them. That is normally far less than a professional repair visit, which is one reason so many homeowners learn how to patch a hole in a wall themselves.
Further reading: Family Handyman explains which filler works best for different holes.