
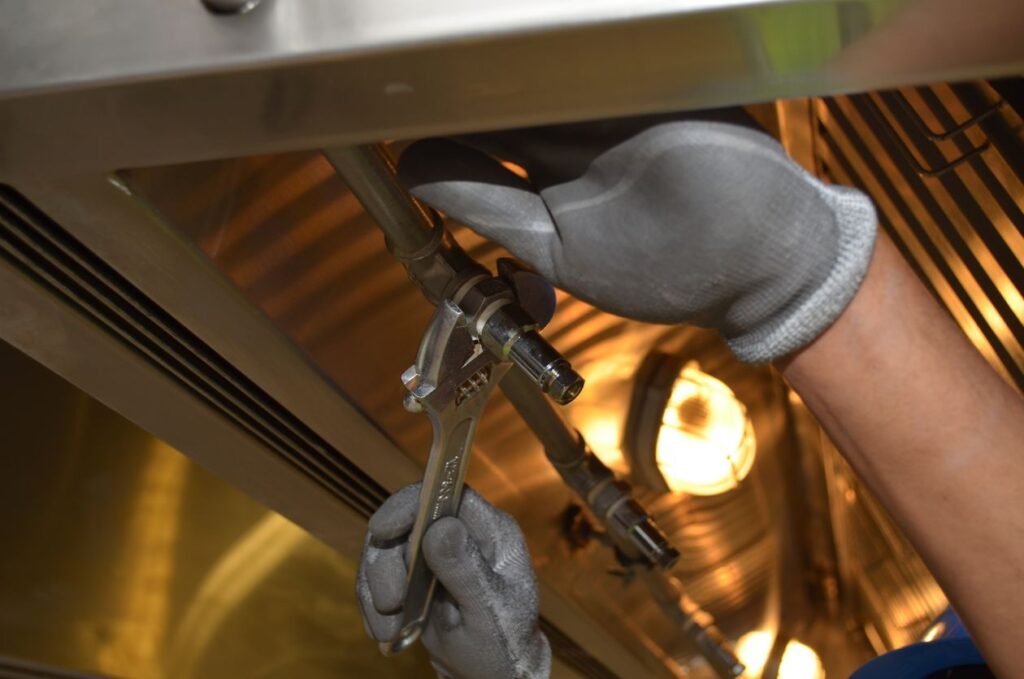
How to Fix a Leaky Kitchen Faucet Without a Plumber
A leaky kitchen faucet is annoying, wastes water, and raises your water bill — but learning how to fix a leaky kitchen faucet is easier than most beginners expect. In most cases, the drip is caused by one worn part inside the faucet, not a broken pipe.
Most kitchen faucets can be fixed in 30–60 minutes with basic tools. This guide shows you how to find the leak, replace the worn cartridge or O-ring, and test your fix.
Before you start, take a photo of your faucet and note the brand and model if you can see it. Faucet parts are not all the same size, and the right replacement part matters more than the right tool.
Table of Contents
What You Will Need to Fix a Leaky Kitchen Faucet
- Adjustable wrench
- Allen key set
- Flat-head and Phillips screwdrivers
- Towel and a small bucket
- Plumber’s grease
- Replacement cartridge or O-rings
Tip: Take the old part to the store so you match it exactly. A cartridge that looks right but is the wrong model will still drip.
Step 1: Turn Off the Water
Find the shut-off valves under the sink and turn them clockwise until they are closed. Open the faucet to release the remaining pressure, then plug the drain so small screws cannot fall in.
If a shut-off valve is broken or will not close, stop here and call a plumber. Forcing a stuck valve can cause a bigger leak.

Step 2: Find Where Your Kitchen Faucet Is Leaking
Where the water appears tells you which part to replace when you fix a leaky kitchen faucet:
- Drip from the spout: the cartridge inside the faucet is usually worn.
- Water around the handle or base: a worn O-ring is usually the cause.
Knowing this before you take anything apart saves a second trip to the store.
Step 3: Remove the Faucet Handle
Look for a small screw under a cap on the handle, or underneath the handle. Loosen it with the right Allen key or screwdriver and lift the handle off.
Keep every screw in a small bowl or bag. Small faucet parts are easy to lose and hard to replace on their own.
Step 4: Remove the Old Cartridge
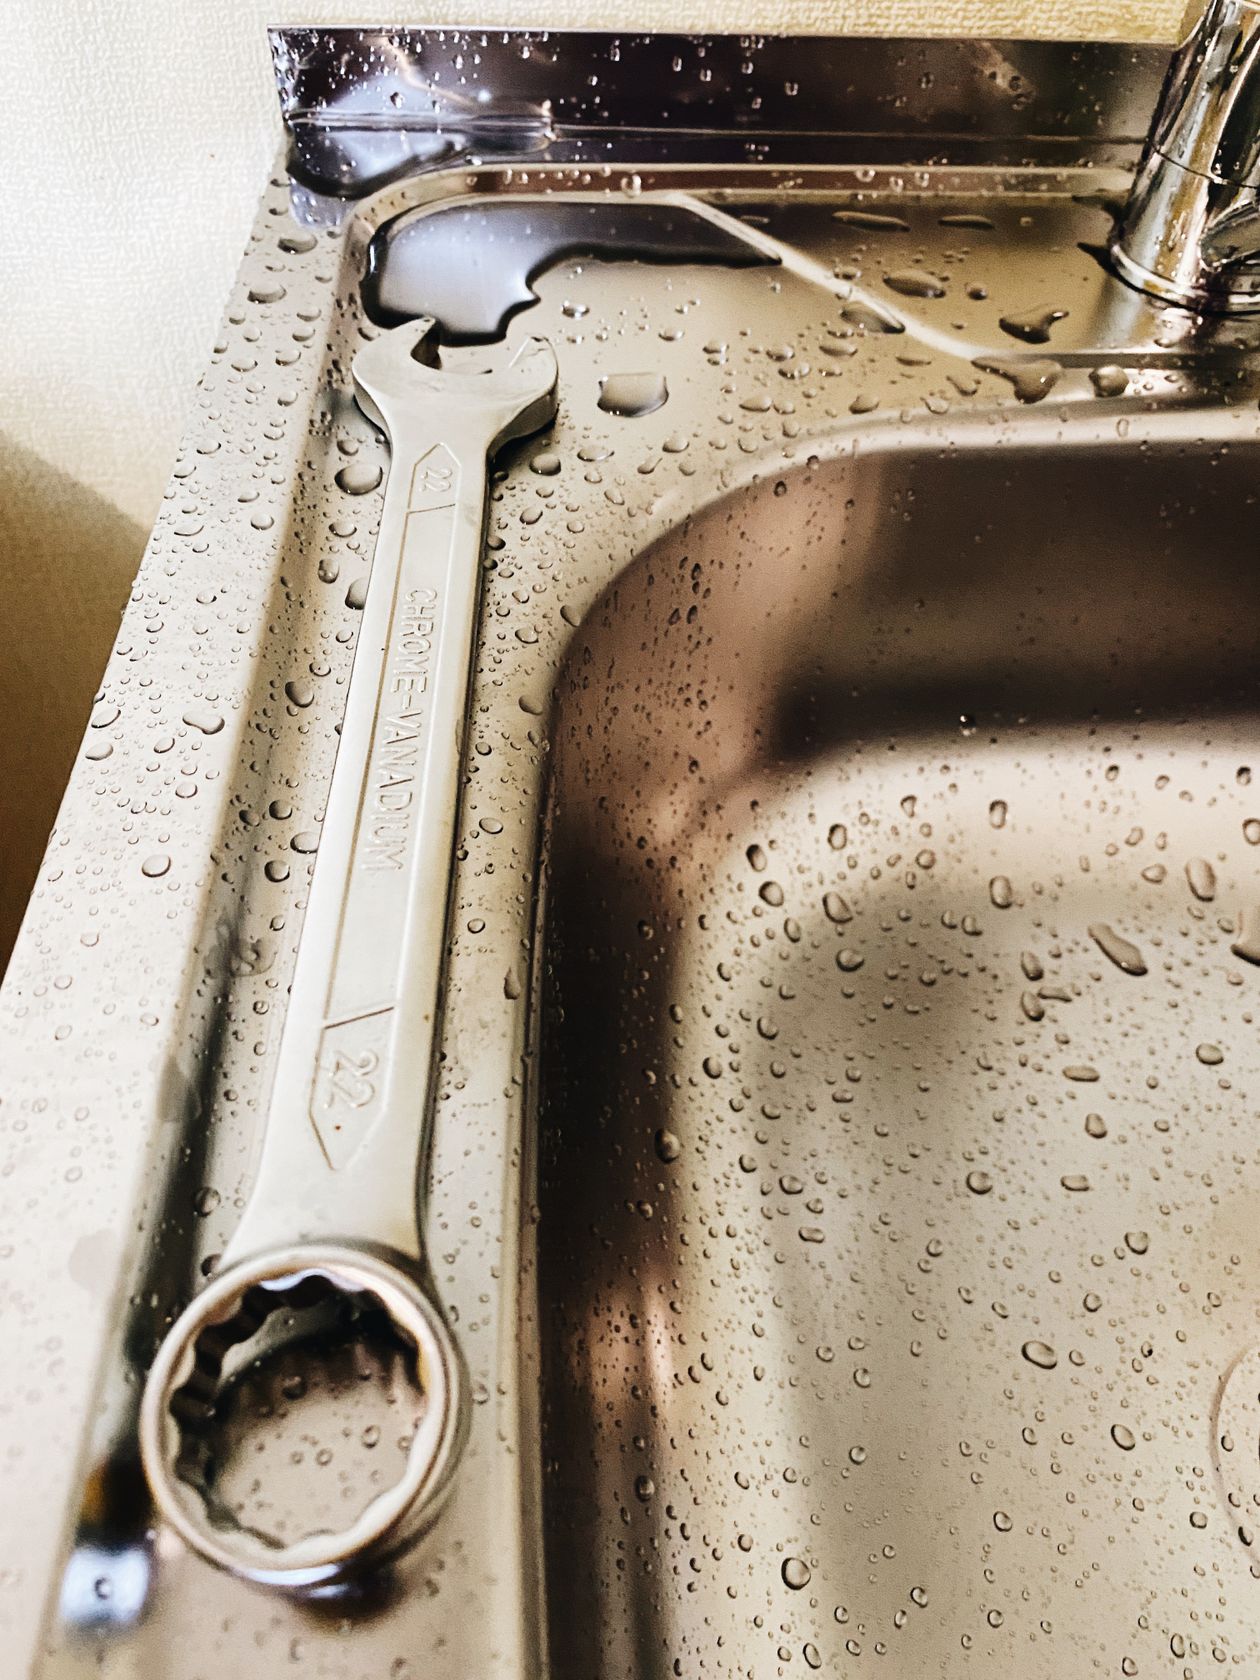
Unscrew the retaining nut with the adjustable wrench. Note which way the cartridge faces, then pull it straight out.
Compare the old cartridge with the new one before you install it. They should be the same size and shape, and the holes should line up.
Step 5: Replace the O-Rings If the Leak Is at the Base
If your leak was at the base, roll the old O-rings off, lightly grease the new ones with plumber’s grease, and slide them on.
Do not stretch the new O-rings or twist them. A pinched or twisted O-ring will leak again.
Step 6: Reassemble the Faucet
Put the new cartridge in the same direction as the old one. Tighten the retaining nut snugly, but do not over-tighten it. Refit the handle and tighten its screw.
Over-tightening can crack the cartridge housing or strip the thread, so stop when it feels firm.
Step 7: Test Your Fix Slowly
Turn the water valves back on slowly. Check under the sink and around the handle for leaks, then run hot and cold water for a minute.
If there is no drip after a minute, leave a dry towel under the sink and check it again after an hour. A slow leak sometimes takes time to show.
Troubleshooting: Still Leaking After the Fix?
- Still dripping from the spout? The cartridge may be the wrong model or seated unevenly. Remove it and check the direction again.
- Leaking at the base after the fix? An O-ring may be pinched or the wrong size.
- Low pressure after reassembly? The small screen (aerator) at the tip of the spout may need cleaning. Unscrew it, rinse it, and refit it.
When to Call a Plumber Instead
Call a professional if a shut-off valve is broken or will not close, fittings are badly corroded, the leak continues after a correct cartridge replacement, or you see water damage under the sink. Stopping early is cheaper than forcing a stuck part.
How to Fix a Leaky Kitchen Faucet: Final Checklist
- Turn off the water under the sink first.
- Find the leak: spout means cartridge, base means O-ring.
- Match the replacement part exactly.
- Reassemble in the same direction, and test slowly.
Fixing it yourself saves a plumber’s call-out fee and, in most homes, takes less than an hour.
Frequently Asked Questions
How long does it take to fix a leaky kitchen faucet?
Usually 30–60 minutes for a first attempt, plus time to buy the right replacement part.
Do I need to shut off water to the whole house?
No. The valves under the sink are usually enough, if they work.
Can I reuse the old cartridge?
No. A worn cartridge is the usual cause of the drip, so reuse the old one and the leak will usually return.
How much does it cost to fix a leaky kitchen faucet yourself?
Usually only the cost of the cartridge or O-rings, plus plumber’s grease if you do not already have it. That is normally far less than a plumber’s visit.
New to DIY? Learn more about FixTidy — every guide is written for beginners, including this step-by-step guide on how to fix a leaky kitchen faucet.
Pingback: How to Fix a Dripping Showerhead: Easy Step-by-Step Guide