
How to Fix a Dripping Showerhead Without Calling a Plumber
Learning how to fix a dripping showerhead is one of the easiest plumbing repairs a homeowner can do. That steady drip after you turn the shower off is more than annoying: a head that drips all day can waste dozens of gallons a week, push up your water bill, and stain your tub.
The good news is that most drips come from something small and cheap: a worn washer, a loose connection, mineral buildup, or a tired valve cartridge. With just an adjustable wrench, some plumber’s tape, and about thirty minutes, this guide shows you how to fix a dripping showerhead step by step.
One thing to know first: a showerhead that drips for a minute or two after you turn the water off is usually normal — that is just leftover water draining out. The problem starts when the dripping goes on for ten minutes or more.
Table of Contents
- Why Your Showerhead Keeps Dripping
- What You Will Need to Fix a Dripping Showerhead
- Step 1: Find Out Where the Drip Is Coming From
- Step 2: Tighten the Connection
- Step 3: How to Fix a Dripping Showerhead by Cleaning It
- Step 4: Replace the Washer and Reseal the Threads
- Step 5: Replace the Showerhead
- Step 6: Replace the Shower Valve Cartridge
- How to Fix a Dripping Showerhead: Final Checklist
- Frequently Asked Questions
Why Your Showerhead Keeps Dripping
A showerhead drips when water gets past a seal that should be watertight, and each failed seal has a different fix — so find the cause first.
- A worn washer or O-ring: a small rubber washer sits inside the showerhead where it screws onto the shower arm. Over time it dries out, flattens, and cracks, and water seeps through the joint.
- A loose connection: the showerhead can work itself loose over months of use. Even a small gap at the threads lets water through.
- Mineral buildup: in hard-water homes, calcium and lime collect inside the head and around the nozzles. Deposits can hold parts slightly open and make the head drip long after the shower is off.
- A worn shower valve cartridge: in a single-handle shower, a cartridge inside the wall controls the flow. When it wears out, it no longer shuts the water off fully, and the head keeps dripping with the handle off.
- A faulty diverter: in a tub-and-shower combo, the diverter may not close fully, so water keeps creeping up to the head.
- High water pressure: pressure above about 80 psi strains every seal and can turn a small weakness into a constant drip.
Most of the time the cause is one of the first three, all fixed at the head itself without opening the wall.
What You Will Need to Fix a Dripping Showerhead
- An adjustable wrench or channel-lock pliers, plus a soft cloth to protect the chrome finish
- Plumber’s tape (Teflon or PTFE tape)
- White vinegar and a plastic bag or bowl
- An old toothbrush and a pin or needle
- A replacement washer or O-ring (take the old one to the store to match the size)
- A replacement showerhead, only if yours is cracked or badly worn
- A replacement cartridge, only if the valve is the problem — match your faucet brand and model
- A towel for the shower floor and a bucket
Tip: If you are building your basic repair kit, read our guide on the 10 essential tools every new homeowner should own. An adjustable wrench and pliers cover almost every job in how to fix a dripping showerhead.
Step 1: Find Out Where the Drip Is Coming From
Before you take anything apart, watch the drip for a few minutes: turn the shower on for thirty seconds, then off. If water drips from the spray nozzles, the valve cartridge or diverter inside the wall is letting water through. If it drips from the joint where the head meets the arm, the connection is loose, the washer is worn, or the tape is missing. If it drips for a minute or two and stops, that is just leftover water — nothing to fix.
Also check the tub spout: if it drips at the same time, the problem is in the valve, not the head. If water sprays sideways from some nozzles while others are blocked, mineral buildup is part of the problem. This two-minute test keeps you from buying a new showerhead when the real problem is a two-dollar washer — which is why diagnosis comes first in any guide to how to fix a dripping showerhead.
Step 2: Tighten the Connection
Start with the simplest fix in how to fix a dripping showerhead. Grip the showerhead and try to turn it clockwise by hand. If it moves even a little, it was loose. Tighten it by hand until snug, then give it a gentle quarter turn with the wrench, with a cloth wrapped around the jaws so you do not scratch the chrome.
Turn the shower on, then off, and watch the joint. If the drip has stopped, you are done — this is often all it takes when learning how to fix a dripping showerhead. If water still seeps out, do not keep tightening: over-tightening can crack the head or damage the arm threads. Move on, holding the arm steady so you do not twist the pipe inside the wall.
Step 3: How to Fix a Dripping Showerhead by Cleaning It
Mineral buildup is the most common cause of a dripping showerhead in hard-water homes, and cleaning it costs almost nothing — try it when the head sprays unevenly or some nozzles are blocked.
Unscrew the showerhead counterclockwise. Use the wrench with a cloth on the joint if it is stuck, and put a towel over the drain so small parts cannot fall in. Soak the head in white vinegar for at least an hour — overnight for heavy buildup. The vinegar dissolves calcium and lime without damaging the finish. Skip vinegar on oil-rubbed bronze or matte black finishes unless the maker says it is safe; use warm soapy water instead.
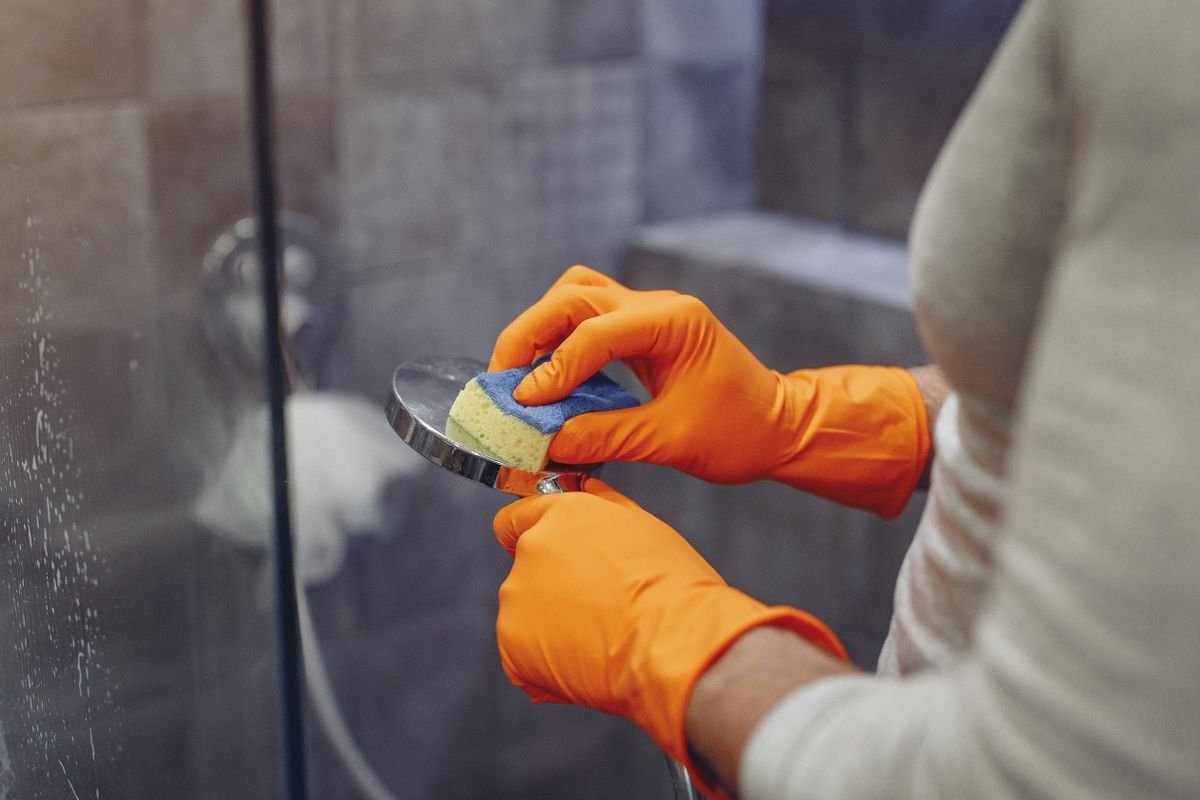
After soaking, scrub the nozzles with an old toothbrush, poke a pin into any nozzle still blocked, and rinse the small filter screen inside the connection end — a clogged screen can cause dripping and low pressure. Screw the head back on and test it. A vinegar soak every six months prevents the problem from coming back, and it is the cheapest step in how to fix a dripping showerhead.
Step 4: Replace the Washer and Reseal the Threads
If tightening and cleaning did not stop the drip, the washer or O-ring is the next suspect. This is the classic fix for a showerhead that leaks at the joint, and it takes about ten minutes.
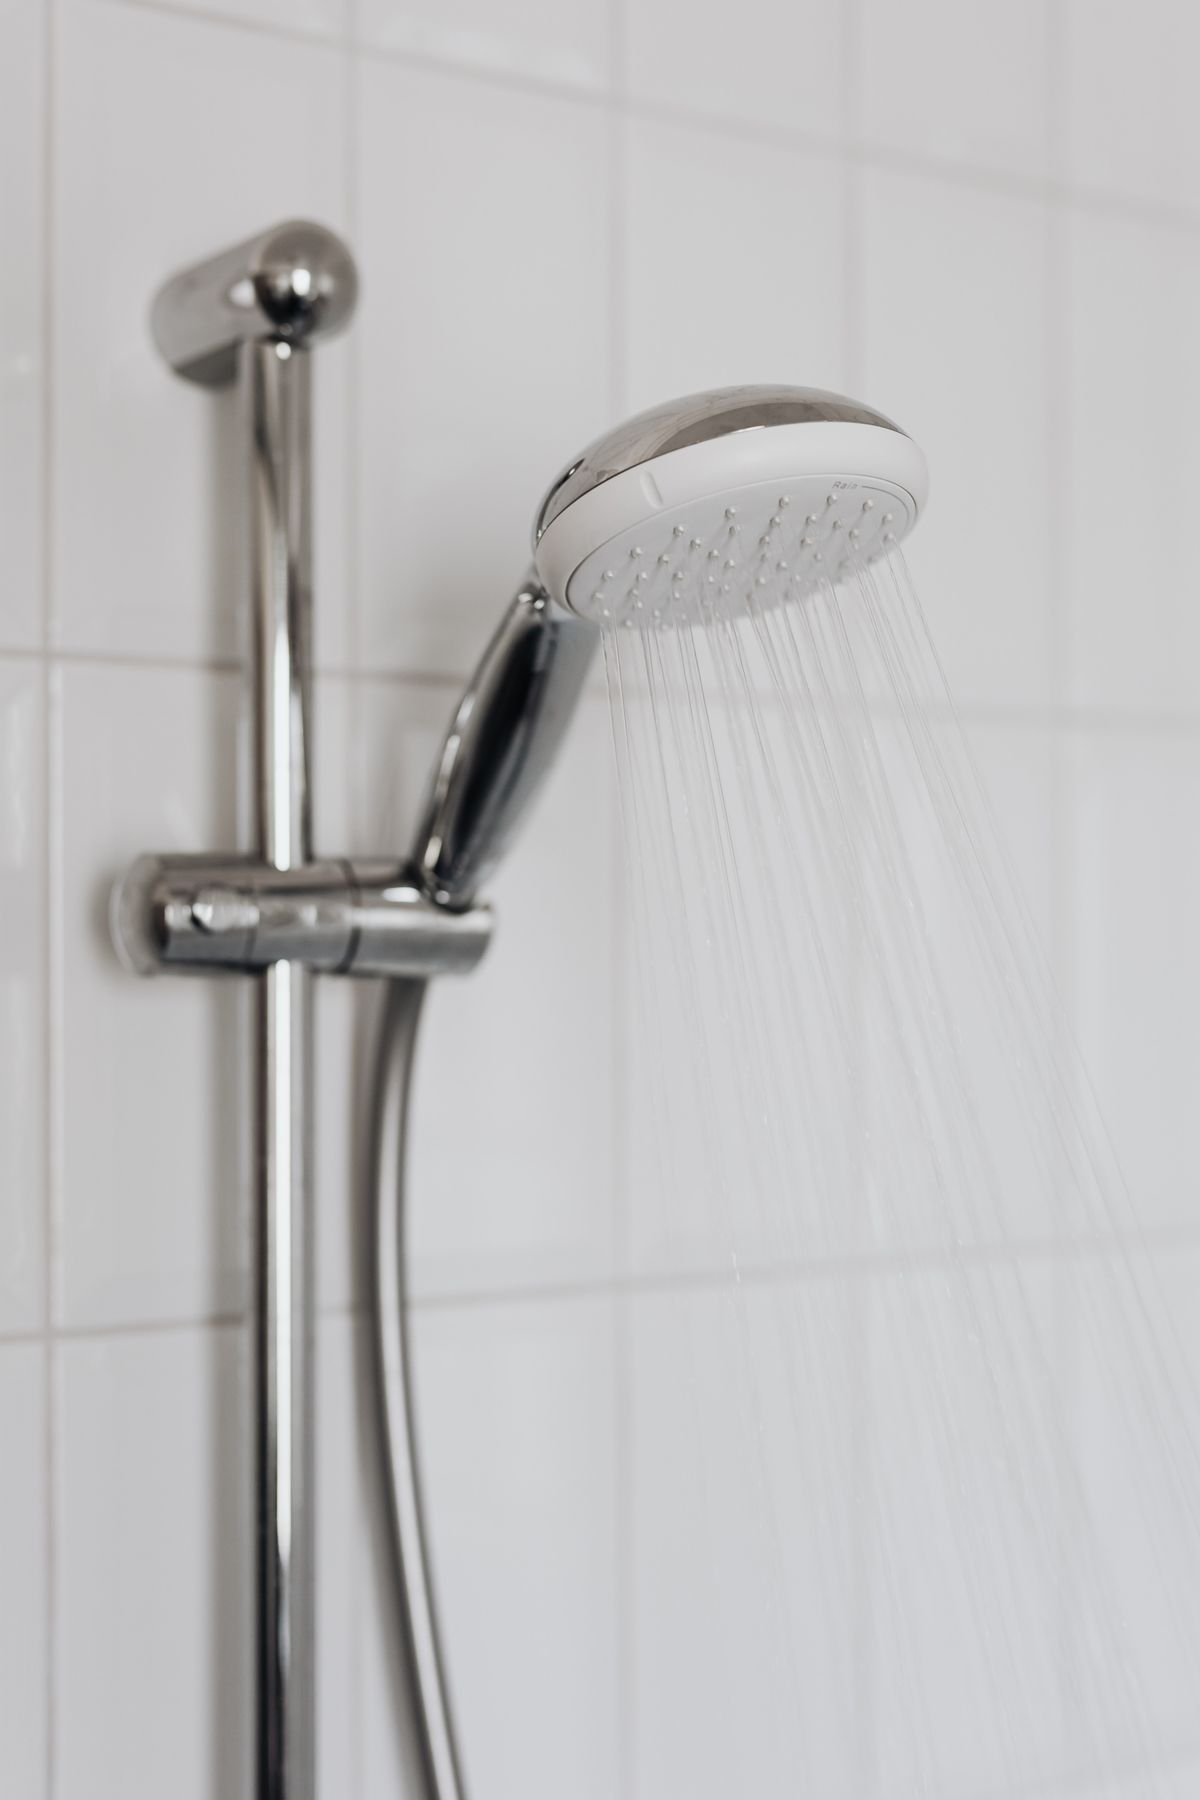
Unscrew the showerhead and look inside the end that connects to the arm for a small rubber washer or O-ring in a groove, sometimes with a mesh filter screen. Pry it out gently with a small screwdriver. If it is flattened, cracked, or brittle, it has failed — take it to the store and buy an exact match, since the wrong size will not seal.
Peel the old tape off the arm threads and wipe them clean. Wrap new tape clockwise around the threads, three or four turns, pulling it snug. Clockwise matters: the head turns that way when you screw it on, so the tape tightens instead of unravelling. Fit the new washer, screw the head on by hand until snug, then a quarter turn with the wrench. Run the shower, turn it off, and watch the joint — a fresh washer and tape seal fix most leaks at the joint.
Step 5: Replace the Showerhead
Sometimes the head itself is the problem. If it is cracked, if the swivel ball joint leaks no matter how much you tighten it, or if the inside is so corroded that cleaning does not help, replacing it is cheaper than fighting it.
Showerheads are standard sized in the USA — almost all fit a standard half-inch shower arm — so a replacement is a simple swap. Unscrew the old head, clean the arm threads, wrap them with fresh plumber’s tape, and screw the new head on by hand plus a quarter turn with the wrench.
A basic fixed head costs very little; a handheld head on a hose is easier to clean with; a low-flow head uses less water. Test the new head the same way: run the shower, turn it off, and watch for five minutes. When you learn how to fix a dripping showerhead, replacing the head is the fallback when cleaning and resealing fail — it should be dry at the joint and drip-free at the nozzles once leftover water has drained.
Tip: A leaking tap wastes water the same way. If your kitchen tap drips too, see our guide on how to fix a leaky kitchen faucet — the washer and cartridge ideas are very similar.
Step 6: Replace the Shower Valve Cartridge
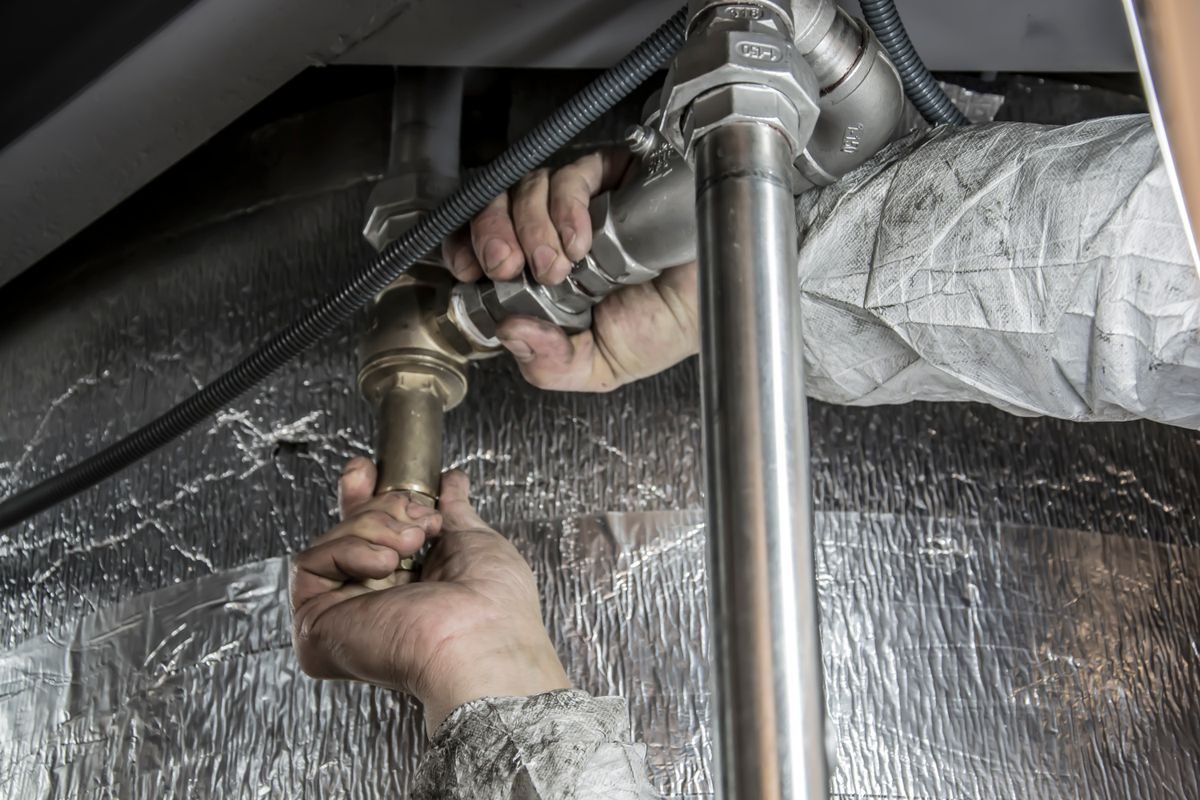
If the head still drips from the nozzles after cleaning, resealing, or even replacing it, the problem is not the head: water is still getting through the shower valve, and the cartridge inside has worn out. This is the most involved step in how to fix a dripping showerhead, but most beginners can do it in under an hour.
First, find the brand and model of your shower faucet, usually printed on the handle or trim plate, and buy the matching cartridge — cartridges are not universal, and the wrong one will not fit or seal.
Turn off the water to the shower. If your bathroom has no shower shutoff valves, turn off the main water supply and open a lower faucet to drain the pipes. Cover the drain with a towel so small screws cannot fall in.
Remove the handle (a small screw hides under a decorative cap), then unscrew the trim plate to reveal the valve body and cartridge. Note which way the cartridge points, pull its retaining clip with pliers, and pull the cartridge straight out — a cartridge puller tool will free a stuck one without damaging the valve body.
Slide the new cartridge in the same way, replace the clip, and refit the trim and handle. Turn the water back on slowly, test, then turn it off and wait five minutes. If the drip has stopped, you have fixed it. If it continues, or you see staining on the wall or ceiling below, the valve body or a pipe inside the wall may be leaking — call a licensed plumber. For a second opinion with photos, This Old House’s guide on troubleshooting a leaky showerhead walks through the same valve and water-pressure checks: https://www.thisoldhouse.com/bathrooms/leaky-showerhead
How to Fix a Dripping Showerhead: Final Checklist
- Watch the drip first — the first rule of how to fix a dripping showerhead is to find where the water comes from: nozzles, joint, or tub spout?
- Tighten the head by hand, then a quarter turn with a wrench — never over-tighten.
- Soak the head in white vinegar for an hour to dissolve mineral buildup; clear blocked nozzles with a pin.
- Replace a worn washer or O-ring with an exact match; reseal the threads with fresh plumber’s tape, wrapped clockwise.
- Replace the showerhead if it is cracked, corroded, or leaking at the swivel joint.
- Replace the valve cartridge if the head still drips from the nozzles after the head is fixed.
- Test after every step: run the shower, turn it off, and watch for five minutes.
- Call a plumber if water is leaking inside the wall or the drip survives a new cartridge.
A dripping showerhead is annoying, but rarely a real emergency. Most of the time, knowing how to fix a dripping showerhead means cleaning out mineral deposits or replacing a washer that costs less than a cup of coffee. If the dripping has stained the wall, our guide on how to patch a hole in a wall will help you repair the damage once the leak is fixed.
Frequently Asked Questions
Is it normal for a showerhead to drip for a few minutes after a shower?
Yes. Water left in the head and arm drains out slowly, so a minute or two is normal. If it goes on for ten minutes or more, you have a leak worth fixing — the steps above show how to fix a dripping showerhead that will not stop on its own.
How much water does a dripping showerhead waste?
A head that drips once a second can waste more than 3,000 gallons a year, so even a slow drip is worth fixing — and knowing how to fix a dripping showerhead pays for itself in water saved.
Can I fix a dripping showerhead without turning off the water?
Yes, for the head itself: tightening it, cleaning it, and replacing the washer can all be done with the water on, since the valve is shut off at the handle. Turn off the supply only to replace the cartridge or work inside the wall.
Why does my showerhead drip only when the shower is off?
When the shower is on, water flows out normally, so you do not notice the leak. When you turn it off, the valve should seal completely — if the cartridge, washer, or diverter is worn, water keeps seeping through and drips from the lowest point, the showerhead. That is the classic sign that it is time to learn how to fix a dripping showerhead.
How often should I clean my showerhead to prevent dripping?
Soak it in vinegar every six months, or every three months with hard water. Regular cleaning stops mineral buildup from blocking the nozzles and wearing out the seals.