
How to Build a Wooden Planter Box That Lasts More Than One Season
Learning how to build a wooden planter box is one of the most satisfying weekend projects for a beginner. A store-bought planter is often thin, flimsy, and far too small for the plants you actually want to grow. A wooden planter box you build yourself is sturdier, fits your patio or porch exactly, and costs much less than a store-bought version of the same size.
This guide shows you how to build a wooden planter box from start to finish: choosing the right wood, cutting the pieces, assembling a box that drains properly, lining it, and filling it with soil and plants. You need basic tools, one afternoon of work, and a little drying time for the finish.
Before you start, decide where the planter will live and what will grow in it. Measure the space, check how much sun it gets, and then decide how long, wide, and deep the box needs to be. A box that is too small dries out fast, while one that is too big is heavy to move once it is full of soil.
Table of Contents
- How to Build a Wooden Planter Box: What Size Should It Be?
- Which Wood Is Best for a Planter Box?
- How to Build a Wooden Planter Box: Cut List
- How to Build a Wooden Planter Box: What You Will Need
- Step 1: Measure and Cut the Wood
- Step 2: Sand the Boards Smooth
- Step 3: Assemble the Box
- Step 4: Drill Drainage Holes and Add Feet
- Step 5: Line the Inside of the Box
- Step 6: Finish the Outside Wood
- Step 7: Fill With Soil and Add Plants
- How to Build a Wooden Planter Box: Final Checklist
- Frequently Asked Questions
How to Build a Wooden Planter Box: What Size Should It Be?
A good planter box fits the space where it will sit and the plants that will live in it:
- Length: 24 to 36 inches for a first project. This size holds several herb plants or a row of flowers without becoming too heavy to move.
- Width: 12 to 14 inches, which gives roots room to spread while keeping the box narrow enough for a porch rail.
- Depth: 10 to 12 inches of soil for herbs, lettuce, and flowers. Root vegetables and tomatoes need at least 14 to 16 inches.
- Overall height: 12 to 14 inches tall is comfortable to reach into and looks balanced on a patio.
Measure the spot where the planter will go, and leave at least 2 inches of space around it so air can circulate. Sketch the plan on paper first. Getting the size right is the most important part of how to build a wooden planter box that fits your space and your plants.
Which Wood Is Best for a Planter Box?
The wood you choose decides how long your planter box lasts outdoors. Here are the common choices:
- Cedar: The best choice for most beginners. It resists rot and insects naturally and weathers to a soft silver-grey if left unfinished. It costs more than pine, but it lasts years longer outdoors.
- Redwood: Similar to cedar in durability, but harder to find and more expensive in many parts of the USA.
- Pressure-treated pine: Affordable and rot-resistant, but heavy when wet. Look for lumber rated for ground contact if the box will sit directly on soil.
- Untreated pine: Cheap and easy to cut, but it rots quickly outdoors unless you seal it well and keep it off the ground. It is fine for a covered porch, but a poor choice for a box that will sit in rain.
For a first project, cedar is worth the extra cost. It is light, easy to cut and screw, and it holds up outdoors without chemical treatment. Whichever wood you choose, pick the straightest boards in the pile, with as few knots as possible, and avoid boards that are bowed or twisted.
How to Build a Wooden Planter Box: Cut List
For a wooden planter box that is 36 inches long, 14 inches wide, and 12 inches deep, using boards that are 3/4 inch thick, you need:
- 2 long side pieces, 36 inches long and 12 inches tall
- 2 short end pieces, 12.5 inches long and 12 inches tall
- 1 bottom board, 34.5 inches long and 12.5 inches wide, cut from plywood or several narrow boards laid side by side
- 2 trim caps, 38 inches long and 2 inches wide, for the top edge
- 2 trim caps, 16 inches long and 2 inches wide, for the top edge
- 4 small feet or cleats, 2 inches square, to lift the box off the ground
The short end pieces are 12.5 inches long because they fit between the two long sides, and the bottom board is 34.5 inches long for the same reason. Measure your own boards and adjust the cut list before you cut anything. Double-check this list before you cut — a wrong cut is the most common mistake when learning how to build a wooden planter box.
How to Build a Wooden Planter Box: What You Will Need
- Cedar boards for the sides, ends, and trim (1×12 boards work well for the sides)
- Plywood or narrow boards for the bottom
- Exterior wood screws (1.5-inch and 2-inch, stainless steel or coated so they do not rust)
- Wood glue rated for outdoor use
- Cordless drill and drill bits, including a 3/8-inch bit for drainage holes
- Tape measure and pencil
- Speed square or carpenter’s square
- Sandpaper (120-grit, then 220-grit)
- Exterior wood stain, oil, or polyurethane, plus a brush or cloth
- Landscape fabric or a plastic liner, and a staple gun
- Safety glasses and a dust mask
Tip: If you are not sure which drill to use, read our guide on the best cordless drill for beginners. The same drill you use for shelves will build this planter box, and our guide on the 10 essential tools every new homeowner should own lists everything else on this list.
Step 1: Measure and Cut the Wood
Here is how to build a wooden planter box starting with the cuts. Measure your space again, then mark the boards using the cut list above, and label each piece as you cut it.
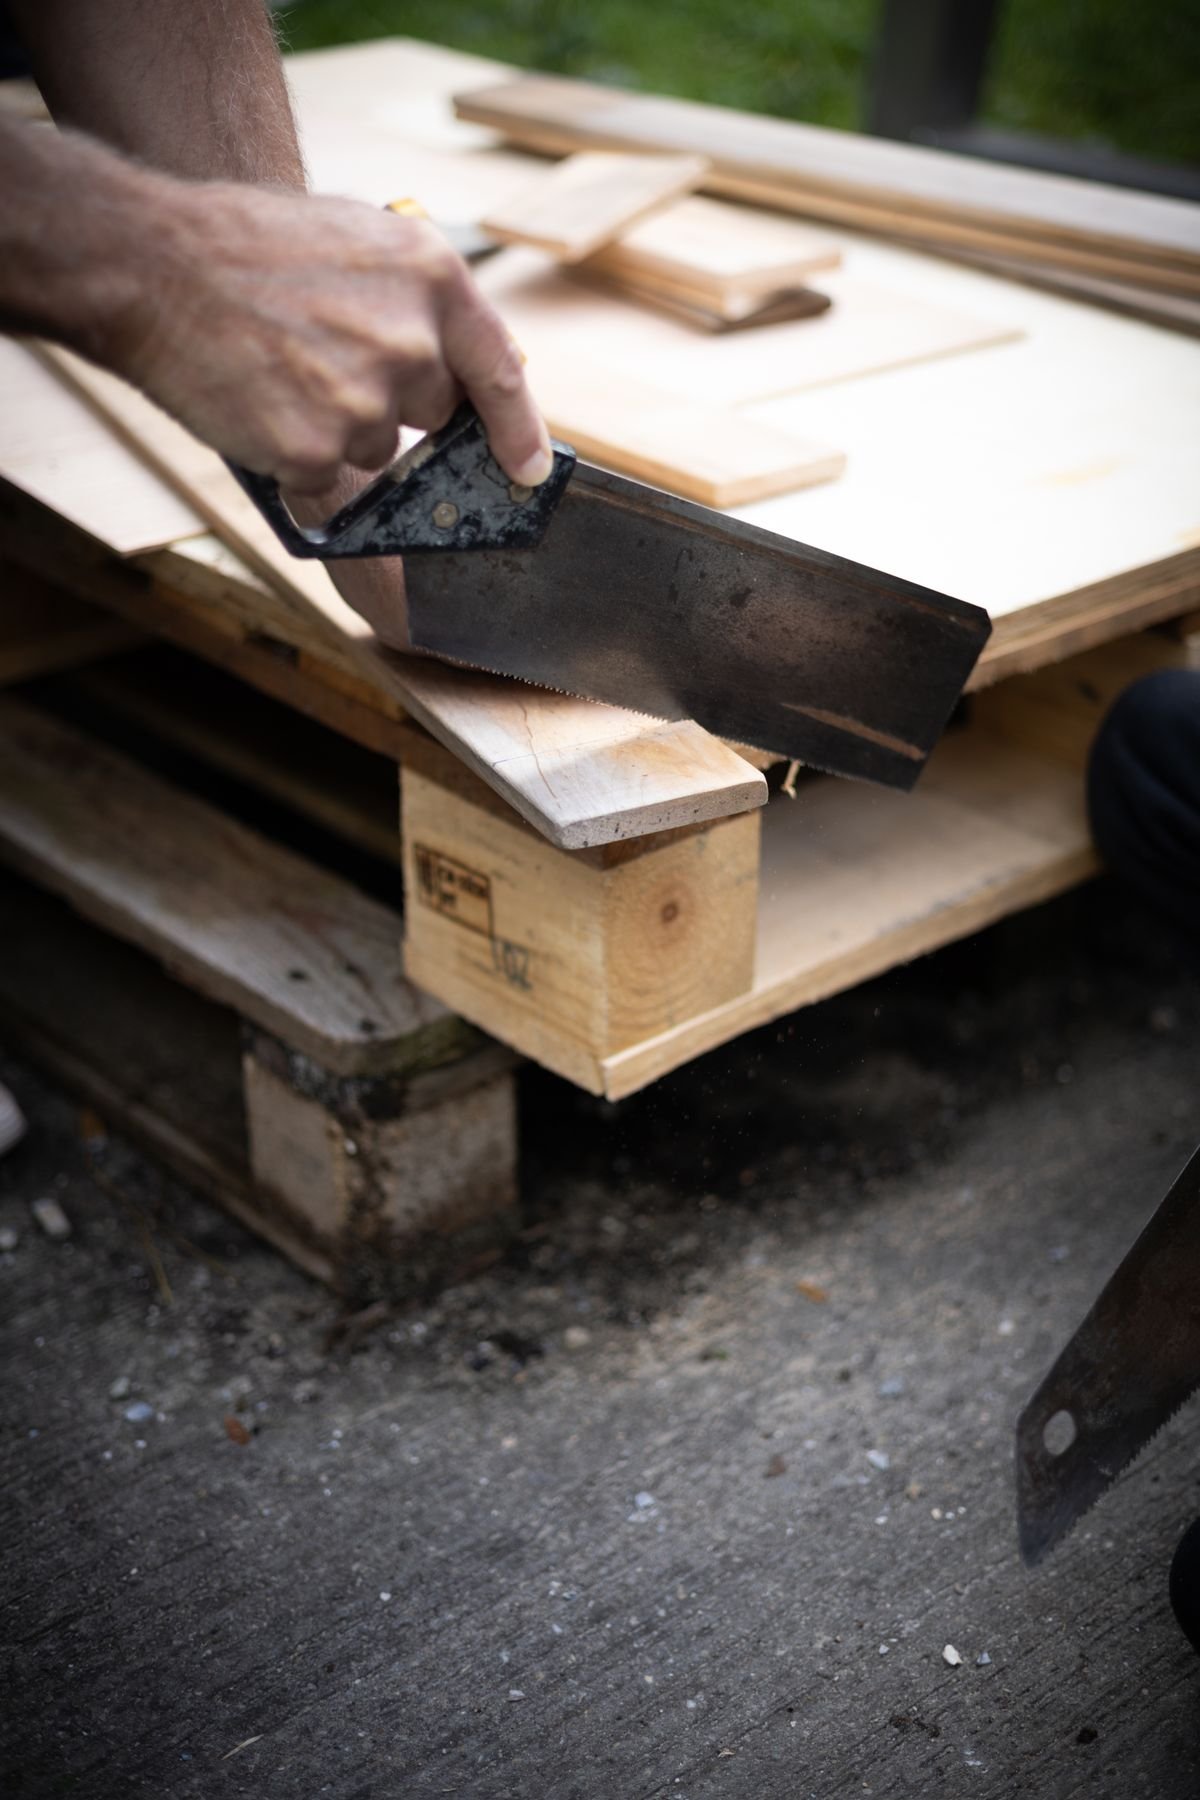
Cut slowly and steadily, and let the saw do the work. Wear safety glasses while cutting. If you do not own a saw, most home improvement stores will cut boards to size for you — bring your cut list and ask at the cutting desk.
Check each cut against your sketch before you move on. A board cut a quarter inch short can be fixed with a shim, but a board cut too long needs re-cutting, so measure twice and cut once — that habit saves time every time you learn how to build a wooden planter box.
Step 2: Sand the Boards Smooth
Sand every board before you assemble the box. It is much easier to sand flat boards than to sand inside corners after assembly.
Start with 120-grit sandpaper, following the grain of the wood, then finish with 220-grit. Pay attention to the top edges and trim caps, which show most. Round the sharp top edges slightly so they feel comfortable to grip.
Wipe away the dust with a damp cloth and let the wood dry. If you skip this step, the dust will mix with the finish and make it feel rough.
Step 3: Assemble the Box
This is the step where learning how to build a wooden planter box really comes together. Lay the two long side pieces flat on your work surface, parallel to each other.
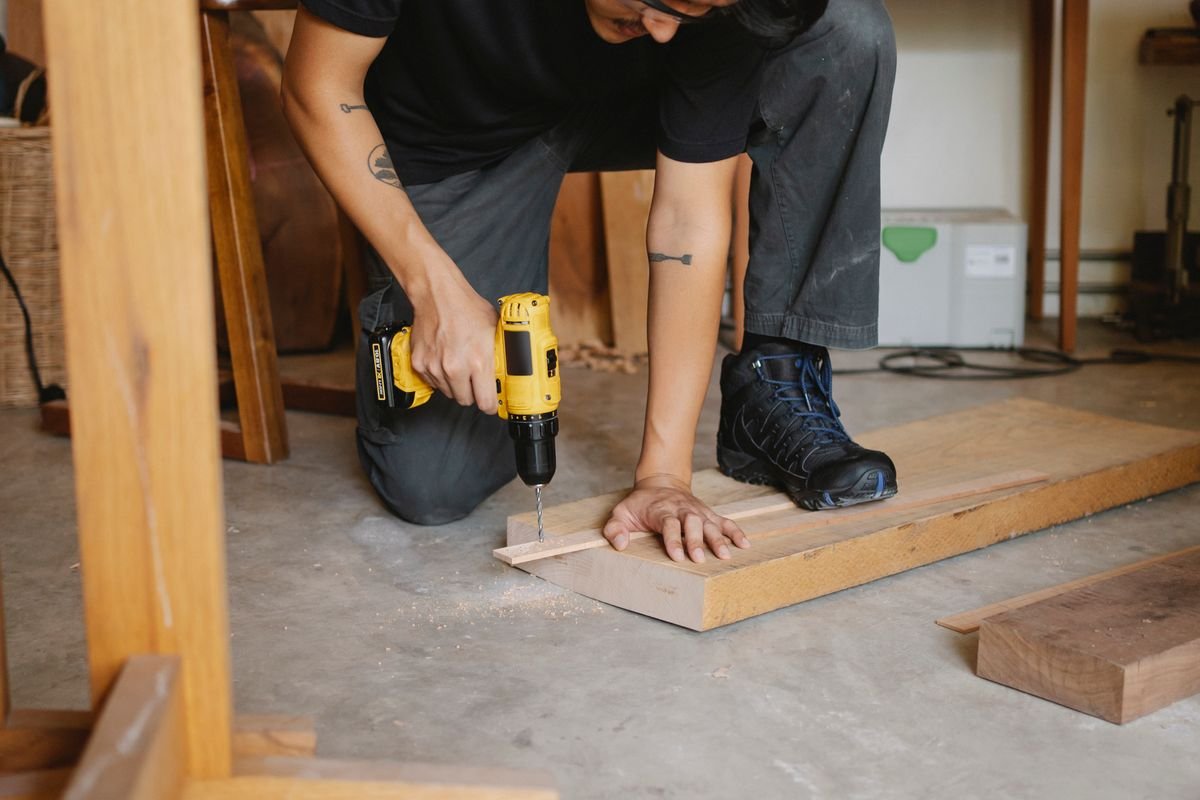
Stand one short end piece between the long sides at one end, so its edges are flush with the ends of the long sides. Apply a thin line of outdoor wood glue along the joint, then drill pilot holes through the long side and into the end piece — pilot holes stop the wood from splitting. Drive two screws through each pilot hole, then repeat at the other end and check the corners are square.
Now fit the bottom board inside the box, resting it on small cleats screwed to the inside of the sides about 1 inch up from the bottom edge. Glue and screw the cleats first, then drop the bottom board in and screw it to the cleats from underneath. Stand the box up and check that it sits flat and does not wobble. A square frame is the foundation of how to build a wooden planter box that lasts.
Step 4: Drill Drainage Holes and Add Feet
Good drainage is what keeps plants alive in a planter box. Without it, water sits in the bottom and roots rot.
Turn the box upside down and drill five or six drainage holes through the bottom board with a 3/8-inch drill bit: one near each corner and one or two in the middle. If your bottom is made from several narrow boards, drill a hole through each board.
Next, screw a small foot to each corner underneath the box. Feet lift the box about 1 inch off the ground, which lets water drain freely and stops the bottom board from sitting in puddles and rotting. This small step makes a big difference to how long your planter box lasts.
Step 5: Line the Inside of the Box
A liner protects the wood from constant contact with damp soil and slows down rot. It also stops soil from washing out through the gaps between boards.
Cut a piece of landscape fabric large enough to cover the inside bottom and sides, with a few inches extra at the top. Press it into the box, fold the top edge over the rim, and staple it just below the top edge. Poke small holes in the fabric over each drainage hole so water can still escape.
For an indoor planter, use a thick plastic liner instead of fabric, and set a tray underneath to catch drips. Do not skip the liner: bare wood in contact with wet soil rots far faster than lined wood.
Step 6: Finish the Outside Wood
Once the box is assembled and lined, sand any joints that feel rough, then wipe away the dust. Apply exterior wood stain, oil, or polyurethane to the outside only, in thin, even coats. Two thin coats usually look better than one thick coat.
Let each coat dry fully before adding the next, and leave the box to dry overnight before you fill it with soil. Patience with the finish is part of how to build a wooden planter box that looks good for years. If you are using cedar, you can also leave it unfinished and let it weather naturally to a soft grey. If you paint the box, use exterior paint and a coat of primer first.
For another take on the same measuring, cutting, and assembly steps, Family Handyman’s guide on how to build a planter box for a deck railing shows a compact cedar design with drainage holes and an exterior finish: https://www.familyhandyman.com/project/how-to-build-a-planter-box-deck-railing/
Step 7: Fill With Soil and Add Plants
The last step in how to build a wooden planter box is filling it and planting it. Move the empty box into its final position first — a box full of wet soil is far too heavy to move.
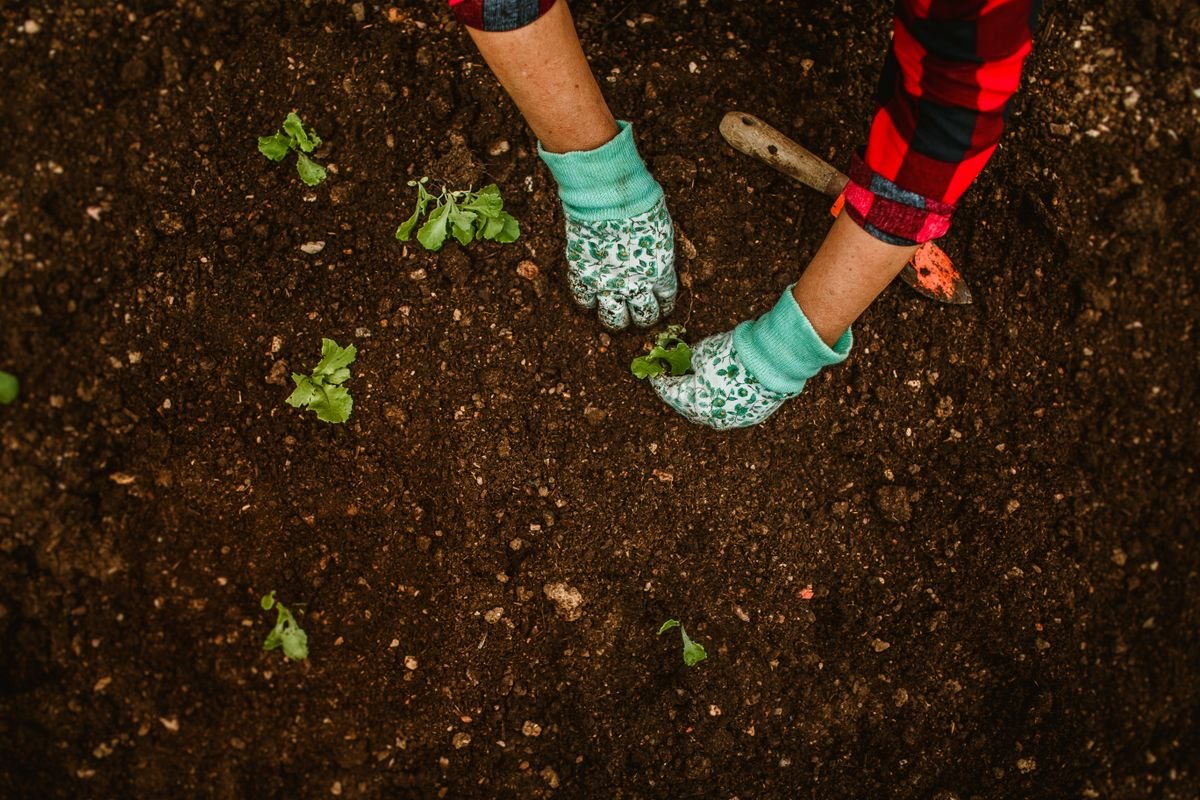
Fill the bottom with a 1-inch layer of small stones to help drainage, then add potting mix, not garden soil. Potting mix is lighter, drains better, and is free of weed seeds. Fill the box to about 1 inch below the rim so water does not spill over the top when you water.
Plant herbs, flowers, or vegetables at the spacing shown on their seed packets or plant tags, and water them well right after planting. Herbs such as basil, parsley, and mint are good first choices because they grow fast. Water when the top inch of soil feels dry, and feed container plants every few weeks in the growing season. Standing back to look at a planter box you built yourself, full of green plants, is the reward for learning how to build a wooden planter box.
How to Build a Wooden Planter Box: Final Checklist
- Measure the space and decide what will grow in the box before you buy wood.
- Choose cedar for the longest life outdoors, or sealed pine for a covered porch.
- Cut the short ends 1.5 inches shorter than the overall width so they fit between the long sides.
- Sand every board before assembly, and round the top edges slightly.
- Drill pilot holes, use outdoor glue and exterior screws, and check the corners are square.
- Drill five or six drainage holes and add feet to lift the box off the ground.
- Line the inside with landscape fabric and poke holes over the drains.
- Finish the outside only, let it dry overnight, then fill with potting mix and plant.
A planter box you build yourself costs far less than a store-bought one, and it fits your space exactly. Now that you know how to build a wooden planter box, it is a weekend project that will give you fresh herbs and flowers all season long. For another weekend build that uses the same skills, see our guide on how to build floating shelves, and if you want a smaller first project, our guide on how to build a simple shoe rack in a weekend uses the same measuring, cutting, and assembly steps on a smaller scale.
Frequently Asked Questions
How long does it take to build a wooden planter box?
Usually 3 to 4 hours of active work, plus drying time for the finish. Plan it as a weekend project and let the stain or oil dry overnight before filling the box with soil.
What wood should I use when learning how to build a wooden planter box?
Cedar is the best choice for most beginners because it resists rot and insects naturally and is easy to cut and screw. Redwood is similar but more expensive. Pressure-treated pine is affordable and durable, but let it dry before cutting.
How deep should a planter box be when you learn how to build a wooden planter box?
Most herbs, lettuce, and flowers need 10 to 12 inches of soil. Root vegetables and tomatoes need at least 14 to 16 inches. A box shallower than 8 inches dries out too fast and limits what you can grow.
How do I stop a wooden planter box from rotting once I know how to build a wooden planter box?
Use cedar or another rot-resistant wood, line the inside with landscape fabric, drill drainage holes, add feet to lift the box off the ground, and finish the outside with exterior oil or stain. Good drainage matters more than any finish.
Can I build a planter box as a beginner?
Yes. It is a good first woodworking project if you measure carefully, drill pilot holes, and check the box is square at every step. Keep the box short and simple for your first try, and ask the store to cut the boards if you do not own a saw.