

How to Fix Squeaky Wooden Floorboards Without Ripping Up the Floor
Learning how to fix squeaky wooden floorboards is easier than most homeowners expect. That annoying creak is usually caused by one board rubbing against another, or by a board that has come loose from the joist underneath. You do not need to rip up the whole floor to stop it.
Most squeaks can be fixed in under an hour with basic tools. This guide shows you how to fix squeaky wooden floorboards step by step, from finding the exact squeak to tightening the board and testing the floor.
Before you start, walk slowly across the floor and listen. Mark every squeaky spot with a small piece of painter’s tape. Squeaks often come in pairs, so finding them all first saves you a second round of work. Marking every squeak is the first step in how to fix squeaky wooden floorboards without missing one.
Table of Contents
Why Wooden Floorboards Squeak
Wooden floors move a little with changes in temperature and humidity. Over time, nails loosen, boards shrink, and small gaps open up. When you step on a loose board, it moves down and rubs against its neighbor, and that rubbing makes the squeak. Understanding why boards squeak is the first step in learning how to fix squeaky wooden floorboards for good.
Here are the most common causes:
- Loose nails: the nail holding the board has worked loose, so the board lifts slightly.
- A gap under the board: the board no longer sits flat on the joist below it.
- Boards rubbing together: two boards have shrunk and now rub at the joint.
Knowing the cause helps you pick the right fix. A loose nail needs a screw, and a rubbing joint needs lubricant.
What You Will Need to Fix Squeaky Wooden Floorboards
- Painter’s tape for marking squeaks
- A stud finder or a thin nail to find joists
- Cordless drill and drill bits
- Wood screws (2-inch, for floorboards)
- A screwdriver
- Powdered graphite or talcum powder
- Wood filler that matches your floor
- A damp cloth
- Safety glasses
Tip: If you are not sure which drill to use, read our guide on the 10 essential tools every new homeowner should own. A basic cordless drill is all you need for this job.
Step 1: Find the Exact Squeaky Spot
Walk across the floor slowly, shifting your weight from heel to toe. When you hear the squeak, stop and bounce gently on that spot to confirm it. Mark it with painter’s tape. Finding the squeak first makes it much easier to learn how to fix squeaky wooden floorboards quickly.
Ask someone else to walk while you listen from below, if you can get under the floor. The squeak is often clearest from underneath, and you can see exactly which board moves.
Have someone stand on the squeaky spot while you watch the board. If it moves down when they step on it, the board is loose. If it does not move, the squeak is probably two boards rubbing together.
Step 2: Find the Joists Under the Floor
Most floorboards are fixed to joists — the strong wooden beams underneath. A screw only holds if it goes into a joist, so finding them matters. This is the step most people skip when they learn how to fix squeaky wooden floorboards, and it is the one that makes the fix last.
Use a stud finder set to deep scan, and slide it slowly across the floor. Mark each joist with tape. In most homes in the USA, joists are 16 inches apart, so once you find one, the next is usually 16 inches away. Marking the joists first is part of how to fix squeaky wooden floorboards so the screws hold firm.
If you do not have a stud finder, tap the floor lightly and listen. The sound is duller over a joist and hollower between joists. You can also look for the line of old nails in the boards, which usually runs along each joist.
Step 3: Tighten the Board with Screws
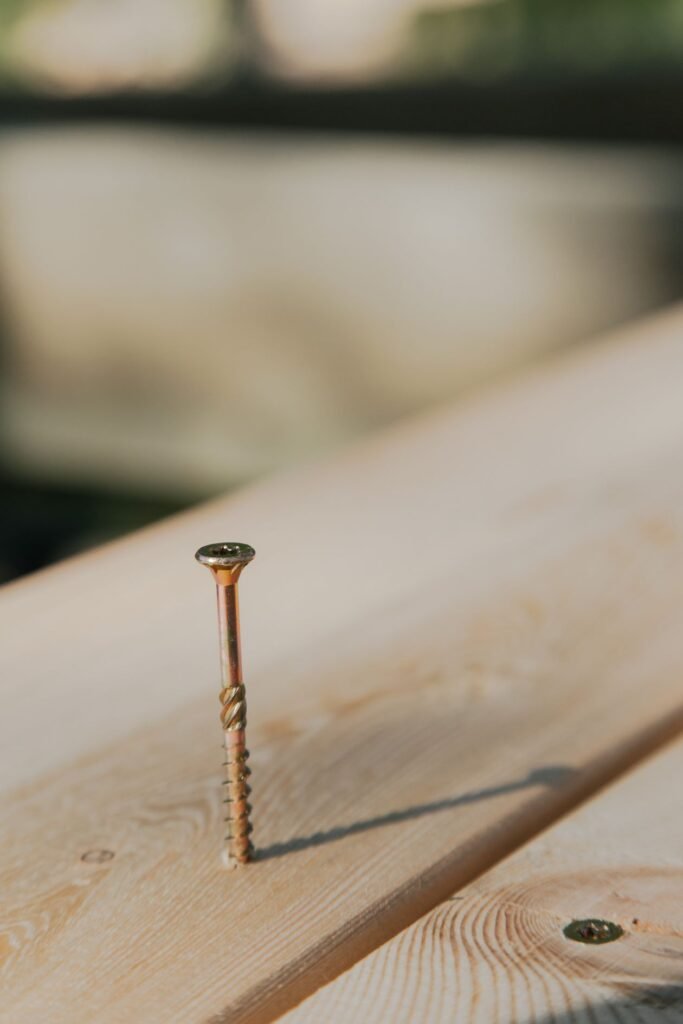
Here is how to fix squeaky wooden floorboards with screws. Drill a pilot hole through the squeaky board and into the joist below it. A pilot hole stops the wood from splitting. Drive a 2-inch wood screw through the pilot hole until the head sits just below the surface. Do not over-tighten. Drive a second screw a few inches away if the first does not stop it completely. Fill the screw heads with wood filler that matches your floor color, let it dry, then wipe it smooth.
Step 4: Fix Squeaks Between Boards with Powder
Here is how to fix squeaky wooden floorboards with powder, when the boards rub but do not move.
If the boards do not move but still squeak, the problem is friction between them. This is where powder helps when you want to know how to fix squeaky wooden floorboards without screws.
Sprinkle powdered graphite or talcum powder along the joint between the squeaky boards. Work it into the gap with a soft brush or an old toothbrush, then walk over the spot several times to work the powder in.
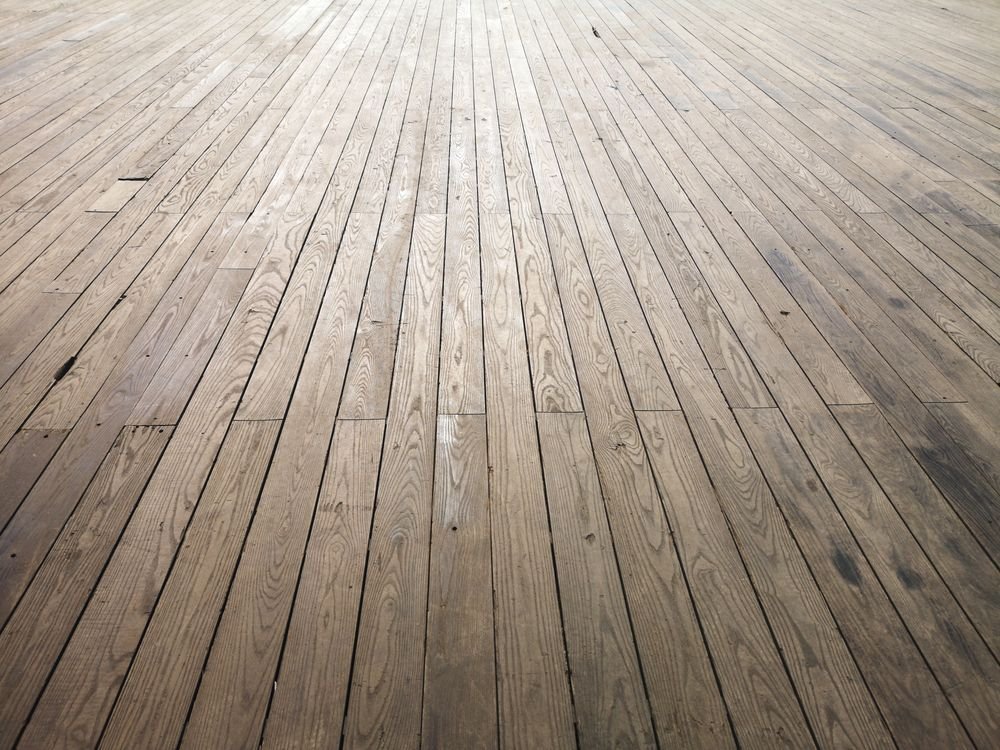
The powder acts as a dry lubricant. It stops the boards rubbing, and the squeak fades. You may need to repeat this once after a few days if the squeak comes back.
Do not use oil or WD-40 on wooden floors. Oil stains the wood and can damage the finish. Dry powder is the safe choice.
Step 5: Fix a Squeak from Underneath the Floor
If you can get under the floor — from a basement or crawl space — you can fix the squeak from below without touching the floor surface at all. This underneath method is often the quietest way to learn how to fix squeaky wooden floorboards without marking the floor surface.
Have someone walk on the squeaky spot while you watch from underneath. You will see the board move. Slide a thin wooden shim, coated with wood glue, into the gap between the joist and the board. Tap it in gently until the board stops moving. Do not force the shim in too far, or it will lift the board and create a bump.
Step 6: Test the Floor and Repeat if Needed
Walk across the whole floor again, slowly, and listen. Most squeaks will be gone after the first fix. If one spot still squeaks, mark it and repeat the step that fits its cause. Test the floor again the next day, as wood moves a little overnight. A second screw or a little more powder usually finishes the job, and once you know how to fix squeaky wooden floorboards this way, the next squeak will take you even less time.
How to Fix Squeaky Wooden Floorboards: Final Checklist
- Walk the floor and mark every squeak with tape.
- Find the joists before you drill anything.
- Tighten loose boards with screws into the joists.
- Use dry powder for boards that rub together.
- Fix from underneath with a glued shim if you can reach it.
- Test the floor again the next day.
A quiet floor makes a whole home feel better, and in most homes this is a one-afternoon job. For another easy repair, see our guide on how to patch a hole in a wall, and for the tools you will use again and again, see our guide on how to build floating shelves for a weekend project that uses the same drill. Once you know how to fix squeaky wooden floorboards, you can tackle other small repairs with confidence.
Frequently Asked Questions
How long does it take to fix squeaky wooden floorboards?
Usually 30 to 60 minutes for one or two squeaks, including finding the joists. A whole room with many squeaks can take an afternoon.
Can I fix a squeaky floor without drilling?
Yes, if the squeak is boards rubbing together. Powdered graphite in the joints often stops it, and that is the easiest way to fix squeaky wooden floorboards without tools. A loose board that moves up and down usually needs a screw to hold it firm.
What screws should I use for floorboards?
Use 2-inch wood screws for most floorboards. Drill a pilot hole first so the wood does not split, and fill the screw head with matching wood filler.
Do I need to remove the floorboards to fix a squeak?
No, not for most squeaks. Screws from above, powder in the joints, or a shim from underneath will fix most of them without removing any boards, which is why this method is the easiest way to fix squeaky wooden floorboards.
Further reading: Family Handyman explains how to fix squeaky floors step by step, including fixes from below the floor.