
The Best Hammer for Beginners Is Simpler Than You Think
The best hammer for beginners is a 16-ounce curved claw hammer with a smooth face and a comfortable grip. That one tool hangs pictures, builds shelves, pulls bent nails, assembles ready-to-assemble furniture, and handles almost every small repair in a first home — no need for five hammers or the most expensive one.
A hammer looks simple, but hardware stores stock dozens of them. The wrong hammer tires your arm and bends nails; the right one feels like an extension of your hand.
This guide will help you find the best hammer for beginners for your hands, your budget, and your projects: the types, the right weight and handle, five beginner picks, and the technique for driving a nail cleanly.
Table of Contents
- What a Beginner Actually Needs a Hammer For
- The Parts of a Claw Hammer
- Best Hammer for Beginners: Weight, Face and Claw
- Handle Materials Compared: Steel, Fiberglass or Wood
- The 5 Best Hammers for Beginners
- How to Hold and Swing a Hammer Correctly
- How to Drive a Nail Without Bending It
- How to Pull a Nail With the Claw
- Common Beginner Hammer Mistakes
- How to Store and Care for Your Hammer
- Best Hammer for Beginners: Final Checklist
- Frequently Asked Questions
What a Beginner Actually Needs a Hammer For
Before you buy, think about what you will actually do with it. A good claw hammer covers the usual beginner jobs:
- Hanging things: pictures, mirrors, curtain rods, hooks, and shelves all start with a nail driven into a stud or a wall anchor.
- Assembling furniture: ready-to-assemble furniture often needs a few light taps to seat dowels and knock joints together.
- Small repairs: tacking down a loose board, fixing a fence picket, or tapping a squeaky floorboard back into place.
- Pulling nails: when you take down old shelving or fix a mistake, the claw pulls nails out cleanly.
- Light demolition: prying off old trim or pulling apart a broken pallet is much easier with a hammer’s claw.
If your list looks like that, one general-purpose claw hammer is enough. Framing hammers, sledgehammers, and ball-peen hammers have their place, but none is the best hammer for beginners doing household jobs.
If you are building your first toolkit from scratch, read our guide to the 10 essential tools every new homeowner should own — the hammer is the first tool on that list.
The Parts of a Claw Hammer
Each part of a hammer affects how it feels and works.
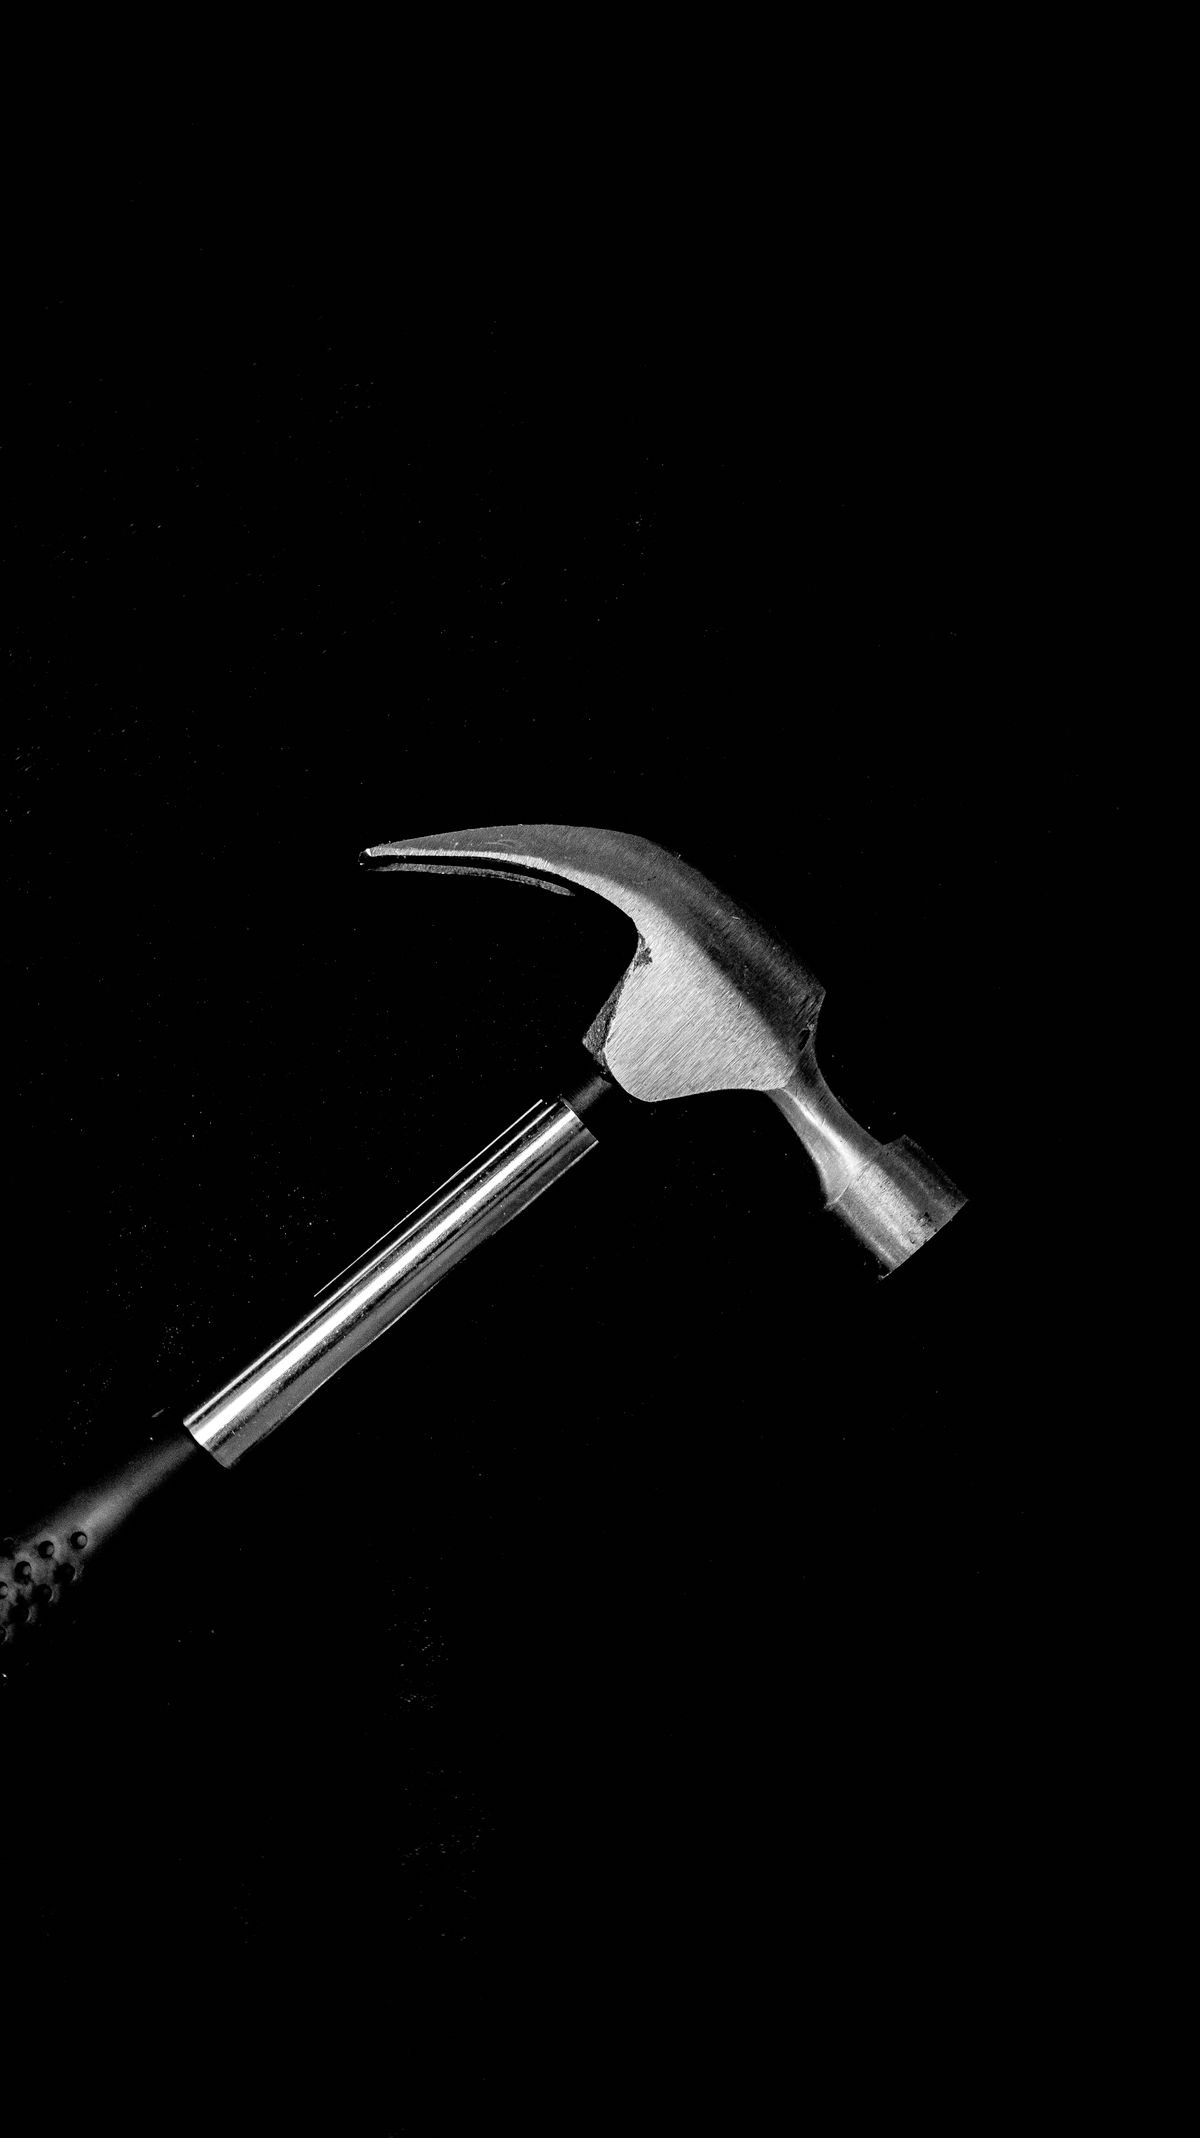
- The face: the flat striking surface. A smooth face will not mark wood; a milled (waffle-pattern) face grips nails and suits framing.
- The claw: the forked back of the head. A curved claw gives more leverage for pulling nails; a straight (rip) claw is better for prying.
- The neck and cheek: the middle of the head. A longer neck reaches further into tight spots.
- The handle: usually 13 to 16 inches long. The material affects weight, shock, and durability.
- The grip: the rubber or leather covering on the handle. A good grip stops slipping and absorbs vibration.
Best Hammer for Beginners: Weight, Face and Claw
Weight: start with 16 ounces
Hammer weight is measured by the weight of the head, in ounces. The common choices are 12, 16, 20, and 22 ounces or more.
- 12 oz: light and easy to control, good for picture hanging, but too light to drive a 3-inch nail without many swings.
- 16 oz: the sweet spot for almost every beginner — heavy enough to drive common nails in a few swings, light enough to use for an hour without a sore arm. This is the weight behind the best hammer for beginners.
- 20 oz and up: framing hammers for heavier work. They tire a beginner’s arm and are harder to control — skip them for now.
If you are smaller-framed or have wrist trouble, a 12 or 13 oz hammer is easier to control — and accuracy matters more than raw power.
Face: choose smooth
A smooth face leaves a clean finish on wood and trim. A milled face will stamp a waffle pattern into any surface it touches by accident. For a first hammer, smooth face, every time.
Claw: choose curved
A curved claw rolls on the wood as you pull, giving strong leverage for pulling nails, while a straight claw gives more prying power. Since beginners pull far more nails than they demolish, the curved claw is the best hammer for beginners in almost every home.
Handle Materials Compared: Steel, Fiberglass or Wood
Steel handles: A one-piece forged steel hammer is the toughest option and will not break. The downside is vibration: steel transmits more shock to your hand, so a good rubber grip matters. Estwing’s one-piece steel hammers last for decades.
Fiberglass handles: Fiberglass is lighter than steel and absorbs shock better, so your arm tires more slowly. Most mid-priced hammers use fiberglass with a rubber grip, though the handle can break if struck against a hard edge.
Wood handles: Hickory is the traditional handle wood. It absorbs shock beautifully and feels warm in the hand, but it can crack or loosen over time, especially in a damp garage.
Our recommendation: for a first hammer, choose fiberglass or steel. Both are forgiving, durable, and easy to find at a good price.
The 5 Best Hammers for Beginners
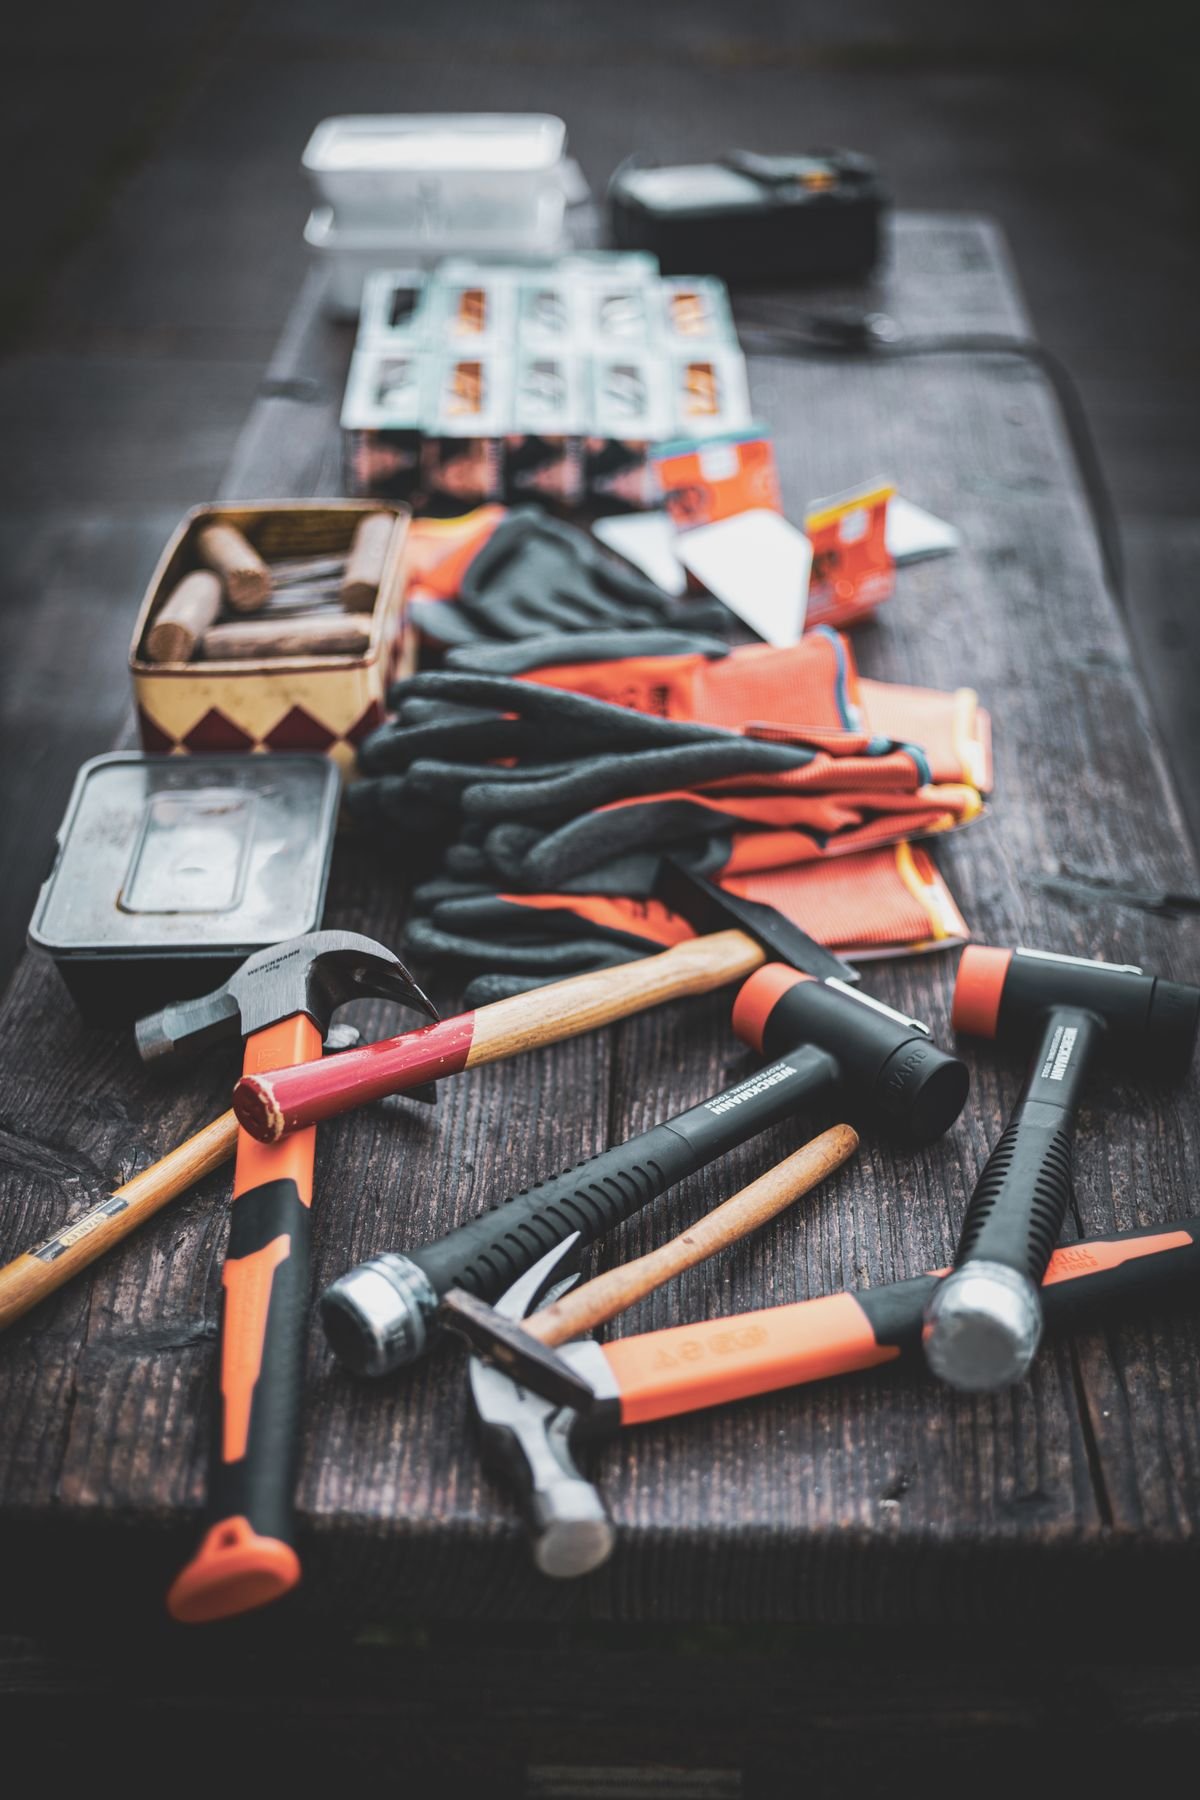
These are the best hammer for beginners picks by budget and use. Prices change, so treat the bands as a guide: budget $10–$15, mid-range $20–$30, premium $35–$50.
1. Best overall: Estwing 16 oz Curved Claw Hammer
The Estwing E3-16C is the hammer most professionals recommend to beginners. Forged from a single piece of American steel, it has no head to come loose, and the shock-reduction grip cuts vibration by a claimed 70 percent. At 16 oz with a curved claw and smooth face, it is a buy-once tool.
2. Best budget pick: Craftsman 16 oz Fiberglass Claw Hammer
If you want to spend as little as possible, the Craftsman 16 oz fiberglass claw hammer is the best hammer for beginners on a budget — light, comfortable, and strong enough for every household job.
3. Best lightweight pick: Stanley 13 oz Fiberglass Curved Claw Hammer
A 13 oz hammer is easier to control, and the Stanley is a good one. It suits smaller-framed users, anyone with wrist trouble, or mostly light work — you will take an extra swing on bigger nails, but hit them squarely far more often.
4. Best for comfort: Irwin 16 oz Fiberglass General Purpose Claw Hammer
Irwin’s general-purpose claw hammer is known for its comfortable grip and good balance — a strong mid-range option if the Estwing feels too heavy in steel.
5. Best for small jobs: Stalwart 16 oz Natural Hardwood Claw Hammer
If you like the traditional feel of wood, the Stalwart hardwood claw hammer is an affordable way to get it. Store it indoors and dry, and it will serve you well for years.
A note on price: a $10 hammer will drive nails. A $30 hammer will drive them more comfortably, for longer, with less vibration — worth it if you use it more than a few times a year.
How to Hold and Swing a Hammer Correctly
Good technique matters as much as the best hammer for beginners you choose. A good swing uses your arm and shoulder, not just your wrist, and lets the weight of the hammer do the work.
- Grip near the end of the handle. Choking up near the head gives control but no power — hold the handle near the end.
- Keep your wrist firm. Keep your wrist mostly straight as you swing; flicking it causes sore wrists and bent nails.
- Let the hammer fall. Raise the hammer, then bring it down in a smooth arc and let its weight carry it into the nail.
- Watch the nail, not the hammer. Keep your eyes on the nail head.
- Start with light taps. Tap gently to set the nail, then swing with full, controlled strokes.
How to Drive a Nail Without Bending It
Bent nails are the most common beginner frustration, and they are almost always caused by hitting the nail off-center or at an angle.
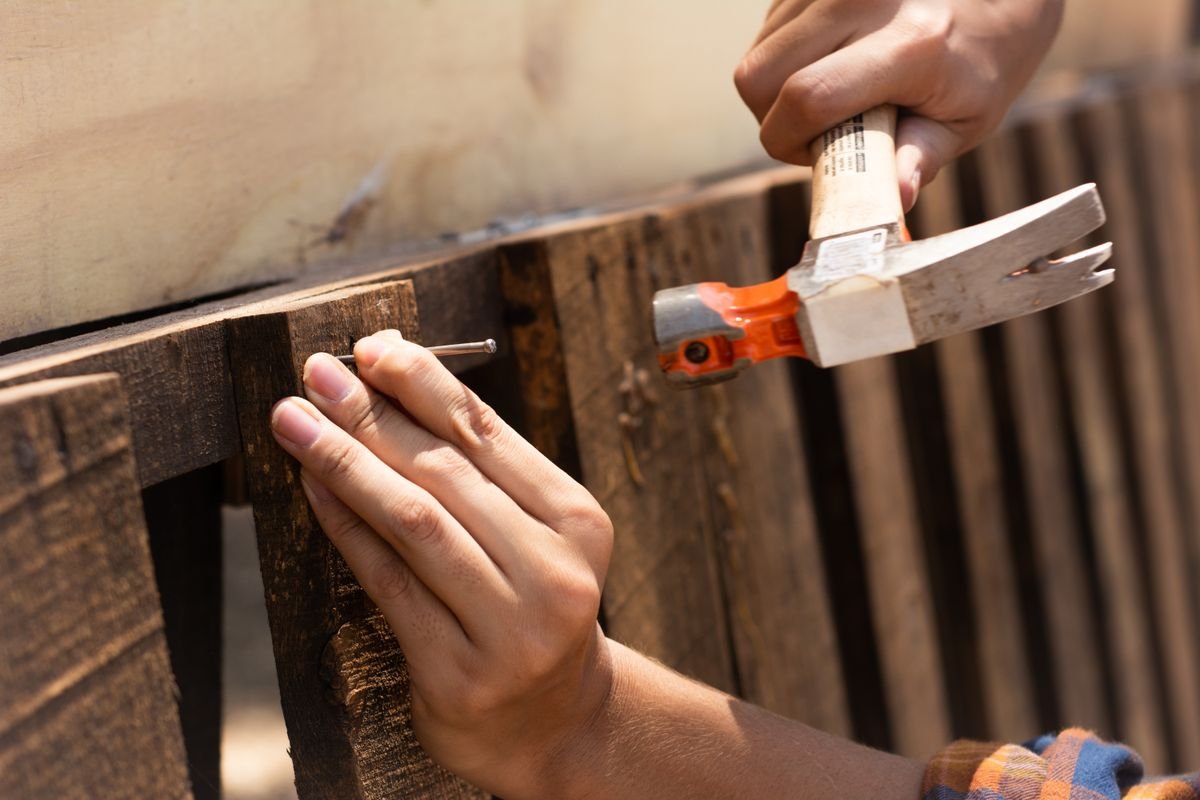
Hold the nail between thumb and forefinger, point on the wood where you want it. Tap gently until it stands on its own, then move your fingers away. Hold the nail with a clothespin or pliers if you are nervous about your fingers.
Swing straight down so the face meets the nail head flat, not at an angle. If the nail starts to bend, stop, pull it out with the claw, and start fresh — straightening a bent nail in place rarely works.
For hard wood, drill a tiny pilot hole first, slightly narrower than the nail, so it goes in straight and the wood is less likely to split. It is a 30-second step — see our guide to the best cordless drill for beginners for the drill that pairs with your new hammer.
How to Pull a Nail With the Claw
Pulling a nail is just as important as driving one, and the curved claw of the best hammer for beginners makes it easy.
Slide the V of the claw around the nail, as close to the head as you can. Place a small block of scrap wood under the hammer head — this protects the surface and gives more leverage. Pull the handle back smoothly, rolling the head on the block, and the nail should come out in one steady movement. For a stubborn nail, work it out a little at a time with a thicker block.
Common Beginner Hammer Mistakes
- Buying the heaviest hammer you can find. More weight is not more skill. A 16 oz hammer you can control beats a 22 oz hammer you cannot.
- Choosing a milled face for indoor work. The waffle pattern will mark every surface you touch by accident. Save milled faces for framing.
- Choking up on the handle. Gripping near the head feels safer, but it kills power and accuracy. Hold near the end.
- Hitting the nail at an angle. An angled hit bends the nail. Stop, straighten up, and hit the nail head flat.
- Skipping safety glasses. A nail head can chip, and a missed swing can send a fragment toward your eyes. Wear them every time.
How to Store and Care for Your Hammer
A good hammer needs almost no maintenance. Store the best hammer for beginners indoors and dry, on a peg or in a toolbox — not loose in a damp garage. Wipe the head with a lightly oiled cloth if you see rust, and check the head is tight before each use. If it ever feels loose, stop using it.
Once you have a hammer you trust, it opens up weekend projects. Our guide on how to build floating shelves uses a hammer, a drill, and a level, and our guide on how to build a simple shoe rack is a great first project for a new hammer owner.
For a deeper look at hammer types and handle materials, Family Handyman’s guide to buying a hammer covers the same choices in detail: https://www.familyhandyman.com/list/everything-you-need-to-know-about-buying-a-hammer/
Best Hammer for Beginners: Final Checklist
- Choose a 16 oz curved claw hammer with a smooth face.
- Pick steel or fiberglass; wood if you prefer the traditional feel.
- Hold the hammer near the end of the handle, wrist firm.
- Tap the nail gently to set it, then swing with full, controlled strokes.
- Keep your eyes on the nail head, not the hammer.
- Use a block of wood under the claw when pulling nails.
- Wear safety glasses every time.
- Store the hammer indoors and dry; check the head is tight before use.
The best hammer for beginners is not the most expensive or the heaviest one. It is the 16 oz curved claw hammer that feels good in your hand, that you can swing accurately, and that you will actually reach for. Buy that one, practice on scrap wood for ten minutes, and you will be ready for almost any small job.
Frequently Asked Questions
What is the best hammer for beginners?
The best hammer for beginners is a 16 oz curved claw hammer with a smooth face — heavy enough for common household nails, light enough to control, and the curved claw pulls nails easily. Steel and fiberglass handles are both good choices.
What weight hammer should a beginner buy?
Start with 16 ounces — the standard all-round weight for household jobs. If you are smaller-framed or have wrist trouble, a 12 or 13 oz hammer is easier to control and still handles light repairs.
Is a 20 oz hammer too heavy for a beginner?
For most beginners, yes. A 20 oz hammer suits framing and heavy work, but it tires your arm faster and is harder to aim. Learn good technique with a 16 oz hammer first.
Should a beginner choose a curved or straight claw hammer?
Choose a curved claw. It gives better leverage for pulling nails, the job beginners do most with the claw. A straight claw suits prying and demolition, so it fits a second hammer better.
How much should a beginner spend on a hammer?
A good beginner hammer costs $10 to $30 in the US. Budget hammers around $10–$15 work fine for occasional use; $20–$30 gets better balance, grip, and less vibration.